Throwing a Lecture Salon Party (with Aluminum Chef Cooking Competition!)
I just turned 32 on January 11! I actually really love hosting parties and having people over in my home, but I've found in the past that these things often work better with a theme and a plan, rather than just a general "come over to my house and we'll do whatever" invite.
So this year, I decided to throw a salon party and Aluminum Chef competition! John and I were very pleased with how it all turned out and agree that this was our best party yet; we're thinking of making it an annual tradition! Everyone seemed to really enjoy themselves and even my quieter friends came out of their shell a lot when they were talking about topics they care about!
1. Salon Party
This isn't a salon party as in, do your hair or makeup, but more of a lecture salon where people discuss different ideas and topics. Historically, salons were pretty popular, but they haven't been as big in the past century or so. The word "Salon" derives from the Italian word salone, which refers to sala, a large reception hall found in Italian mansions). These gatherings first started in Italy in the 16th century and were super big in France in the 17th and 18th century. Plenty of great minds of the past were involved in regular salon nights in their friend groups; Gertrude Stein's Saturday evening salons were very popular and drew people like Pablo Picasso, F. Scott Fitzegerald, Ernest Hemingway, Sinclair Lewis, and Henri Matisse (one of these salons was depicted in Woody Allen's Midnight in Paris, which is an excellent movie made by a horrible human being [I still feel guilty about watching it, but I realllyyyy was curious about the topic and ended up really loving it. I also think it's important to be able to distinguish great art and beautiful creations from the actual quality of a person's character, as society's inability to believe that people who do terrible things can also create great art has resulted in seriously fucked up victim blaming in the past. So there's that. But also, fuck Woody Allen. Questions about why I say that? Read this.).
Salons have been organized in different ways throughout history, and it is really interesting to read about all of them, but I decided I needed to have a more structured set up for my party.
- First, I set up a facebook event for my party and sent out invitations over a month in advance, so people would have a chance to think over what they wanted to do for it and prepare. I set up a google spreadsheet for sign-ups and just monitored it regularly to gauge interest (I love google drive and its system of document and spreadsheet tools so much. I used them extensively for planning my wedding and even wrote about my use of it as a layout tool here).
I originally said that people would have 9-10 minutes to speak on any topic they wanted, but after like 12 people signed up, ended up shortening that time to 5-6 minutes. At the actual party, I wasn't too strict about this and people's talks generally went about 10 minutes, which was perfect (I was afraid that if I said they could do 10 minutes, people would end up with like 15-20 minutes of content, which would be difficult time-wise).
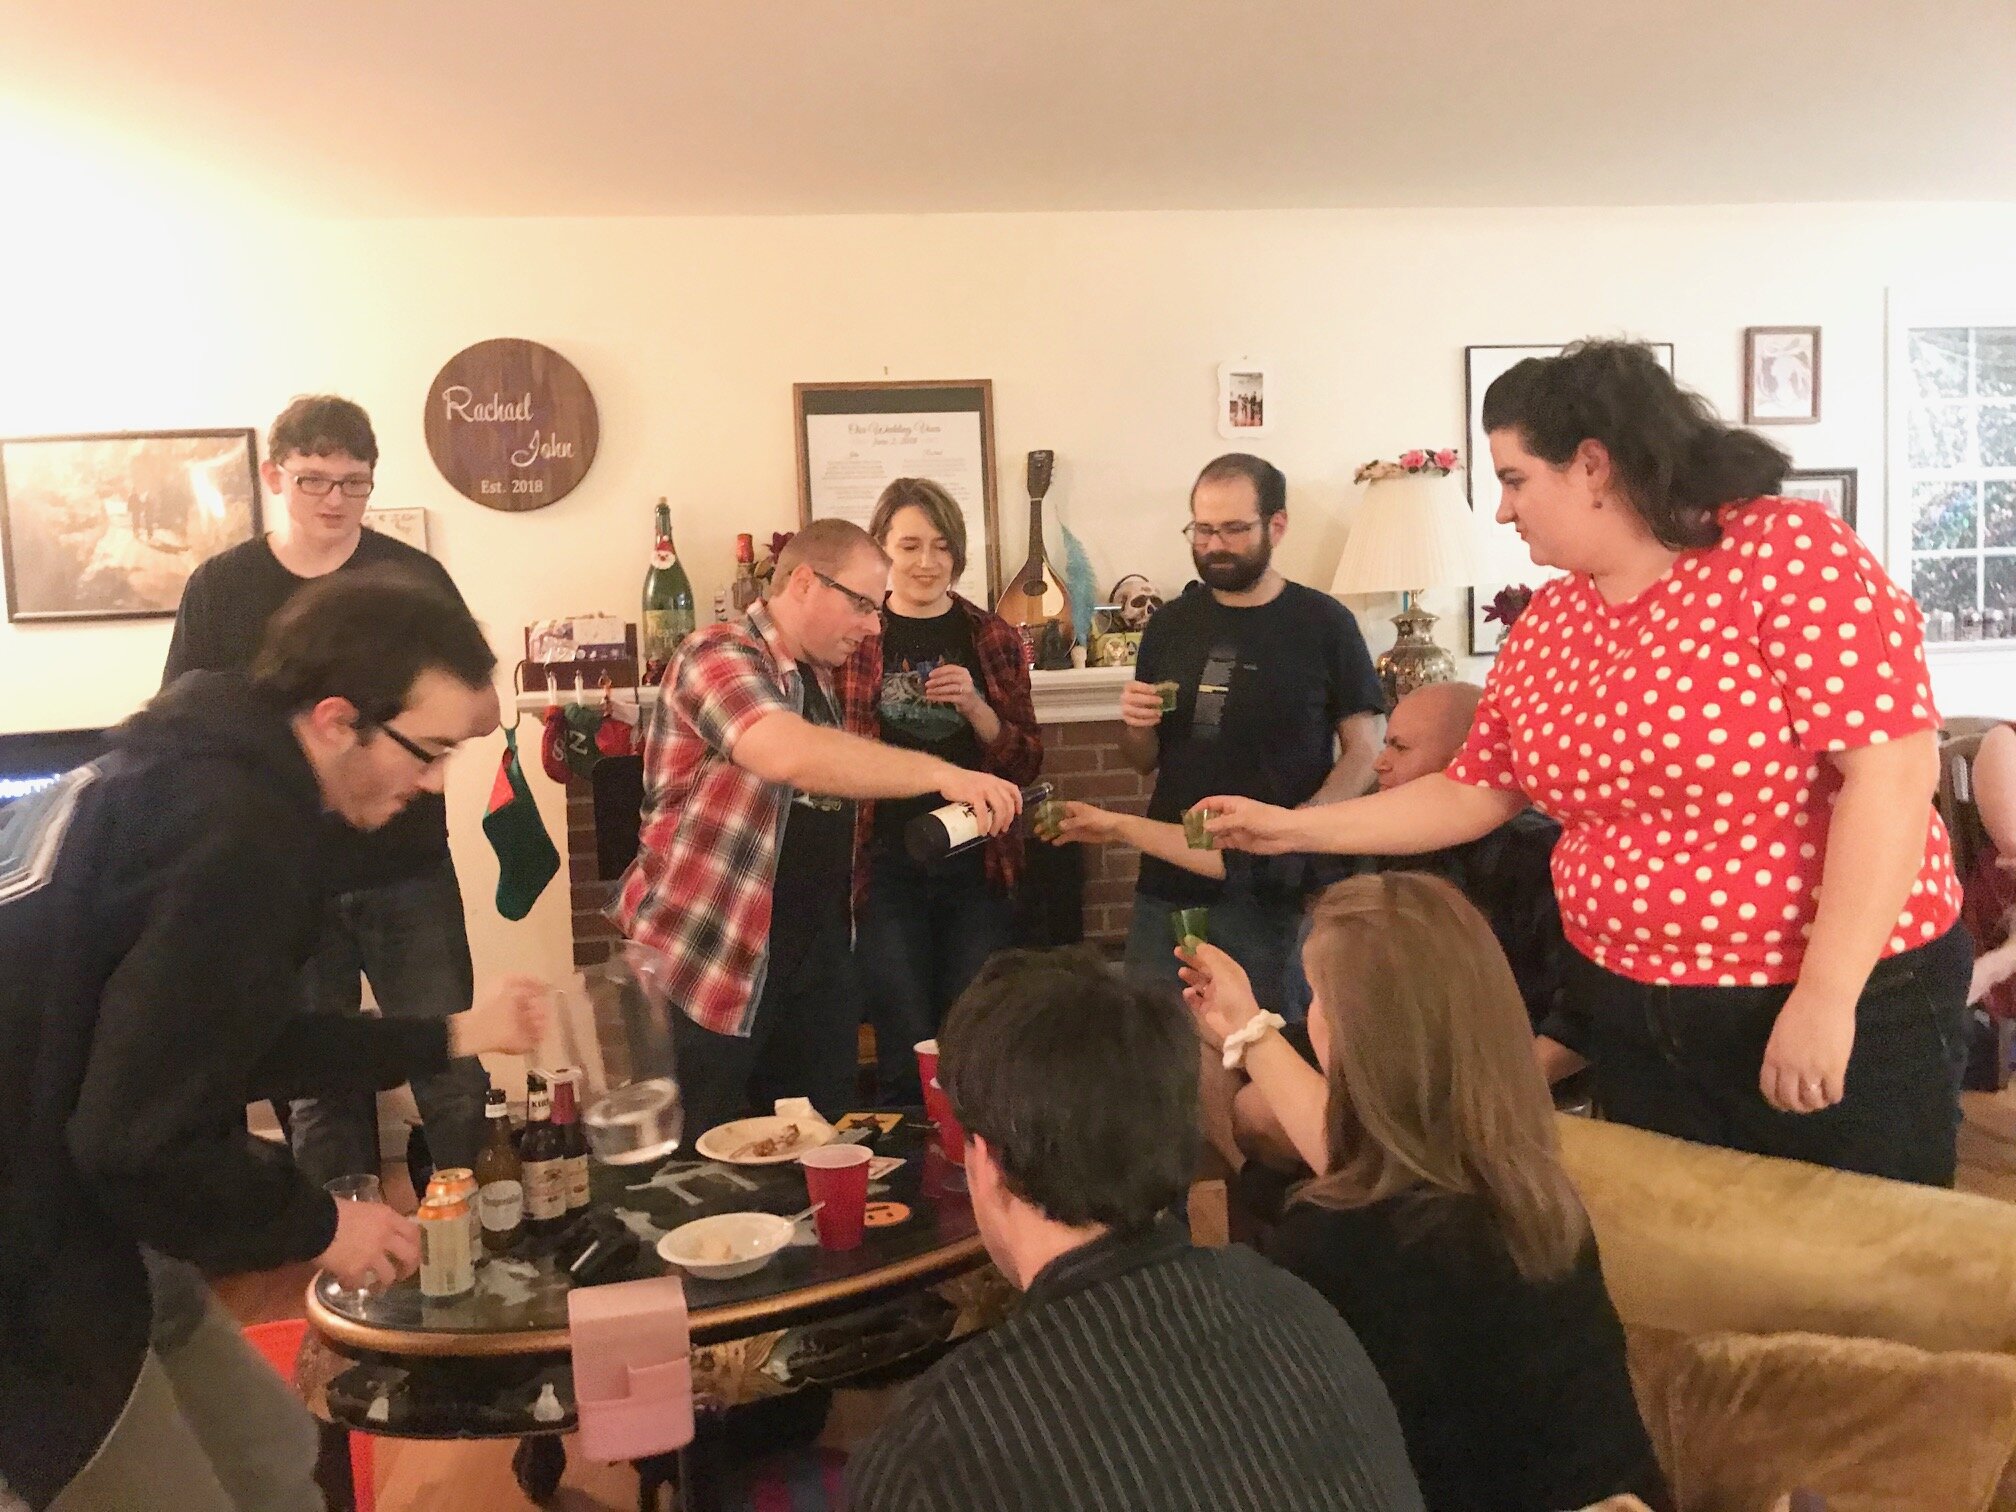
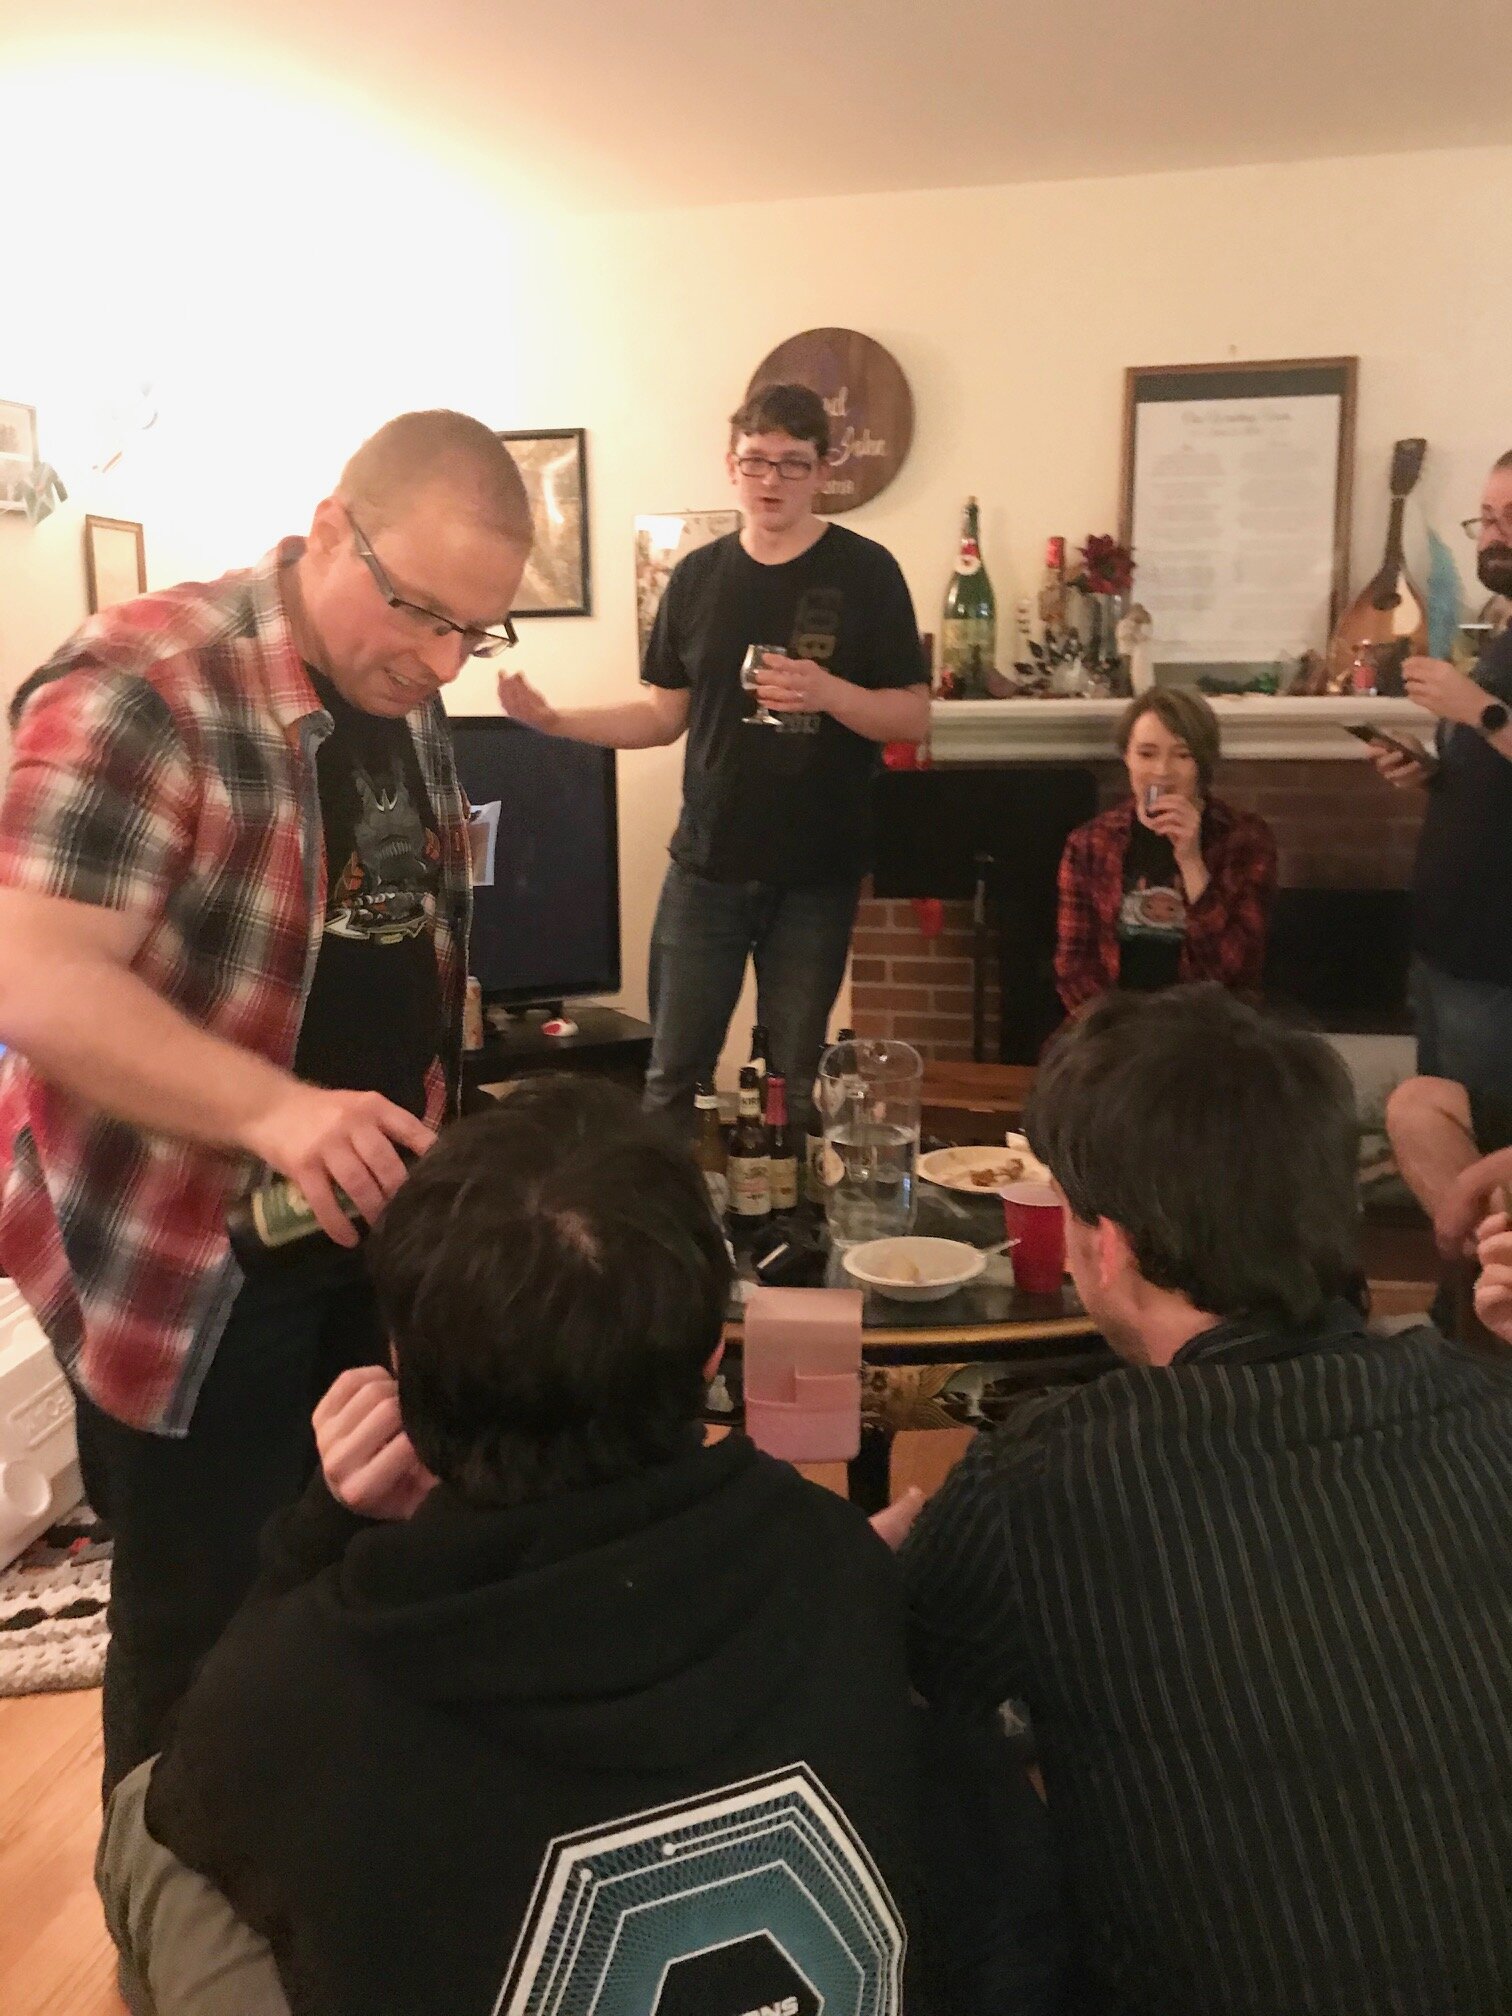
Because I invited more people than Husband John wanted me to (he is /much/ more introverted than I am), I let him talk for pretty much as long as he wanted about different types of beer (although I did lovingly heckle him and encouraged him to move quickly). He recruited one of my friends to be his "Beer Czar," and Tony poured out beer samples for anyone who was interested (we handed out plastic shotglasses for this). John ended up going about 40 minutes.
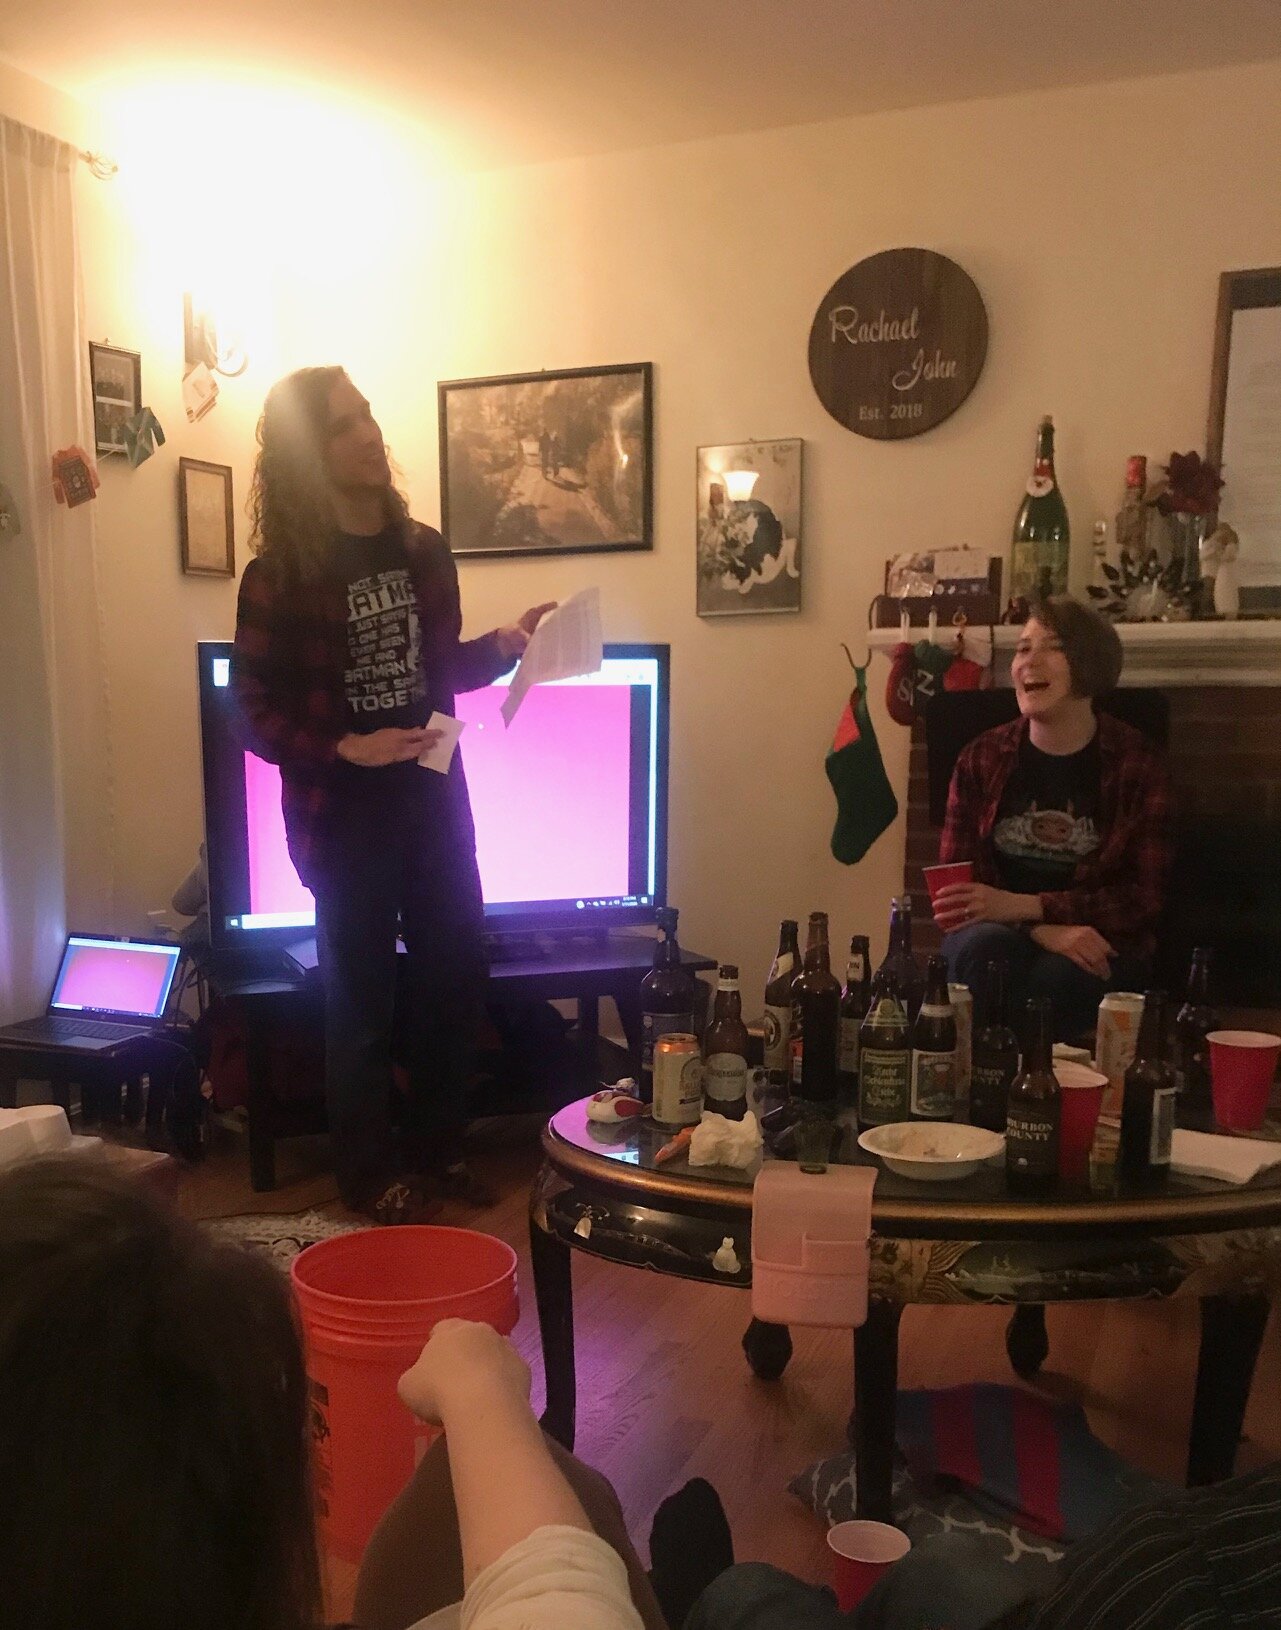
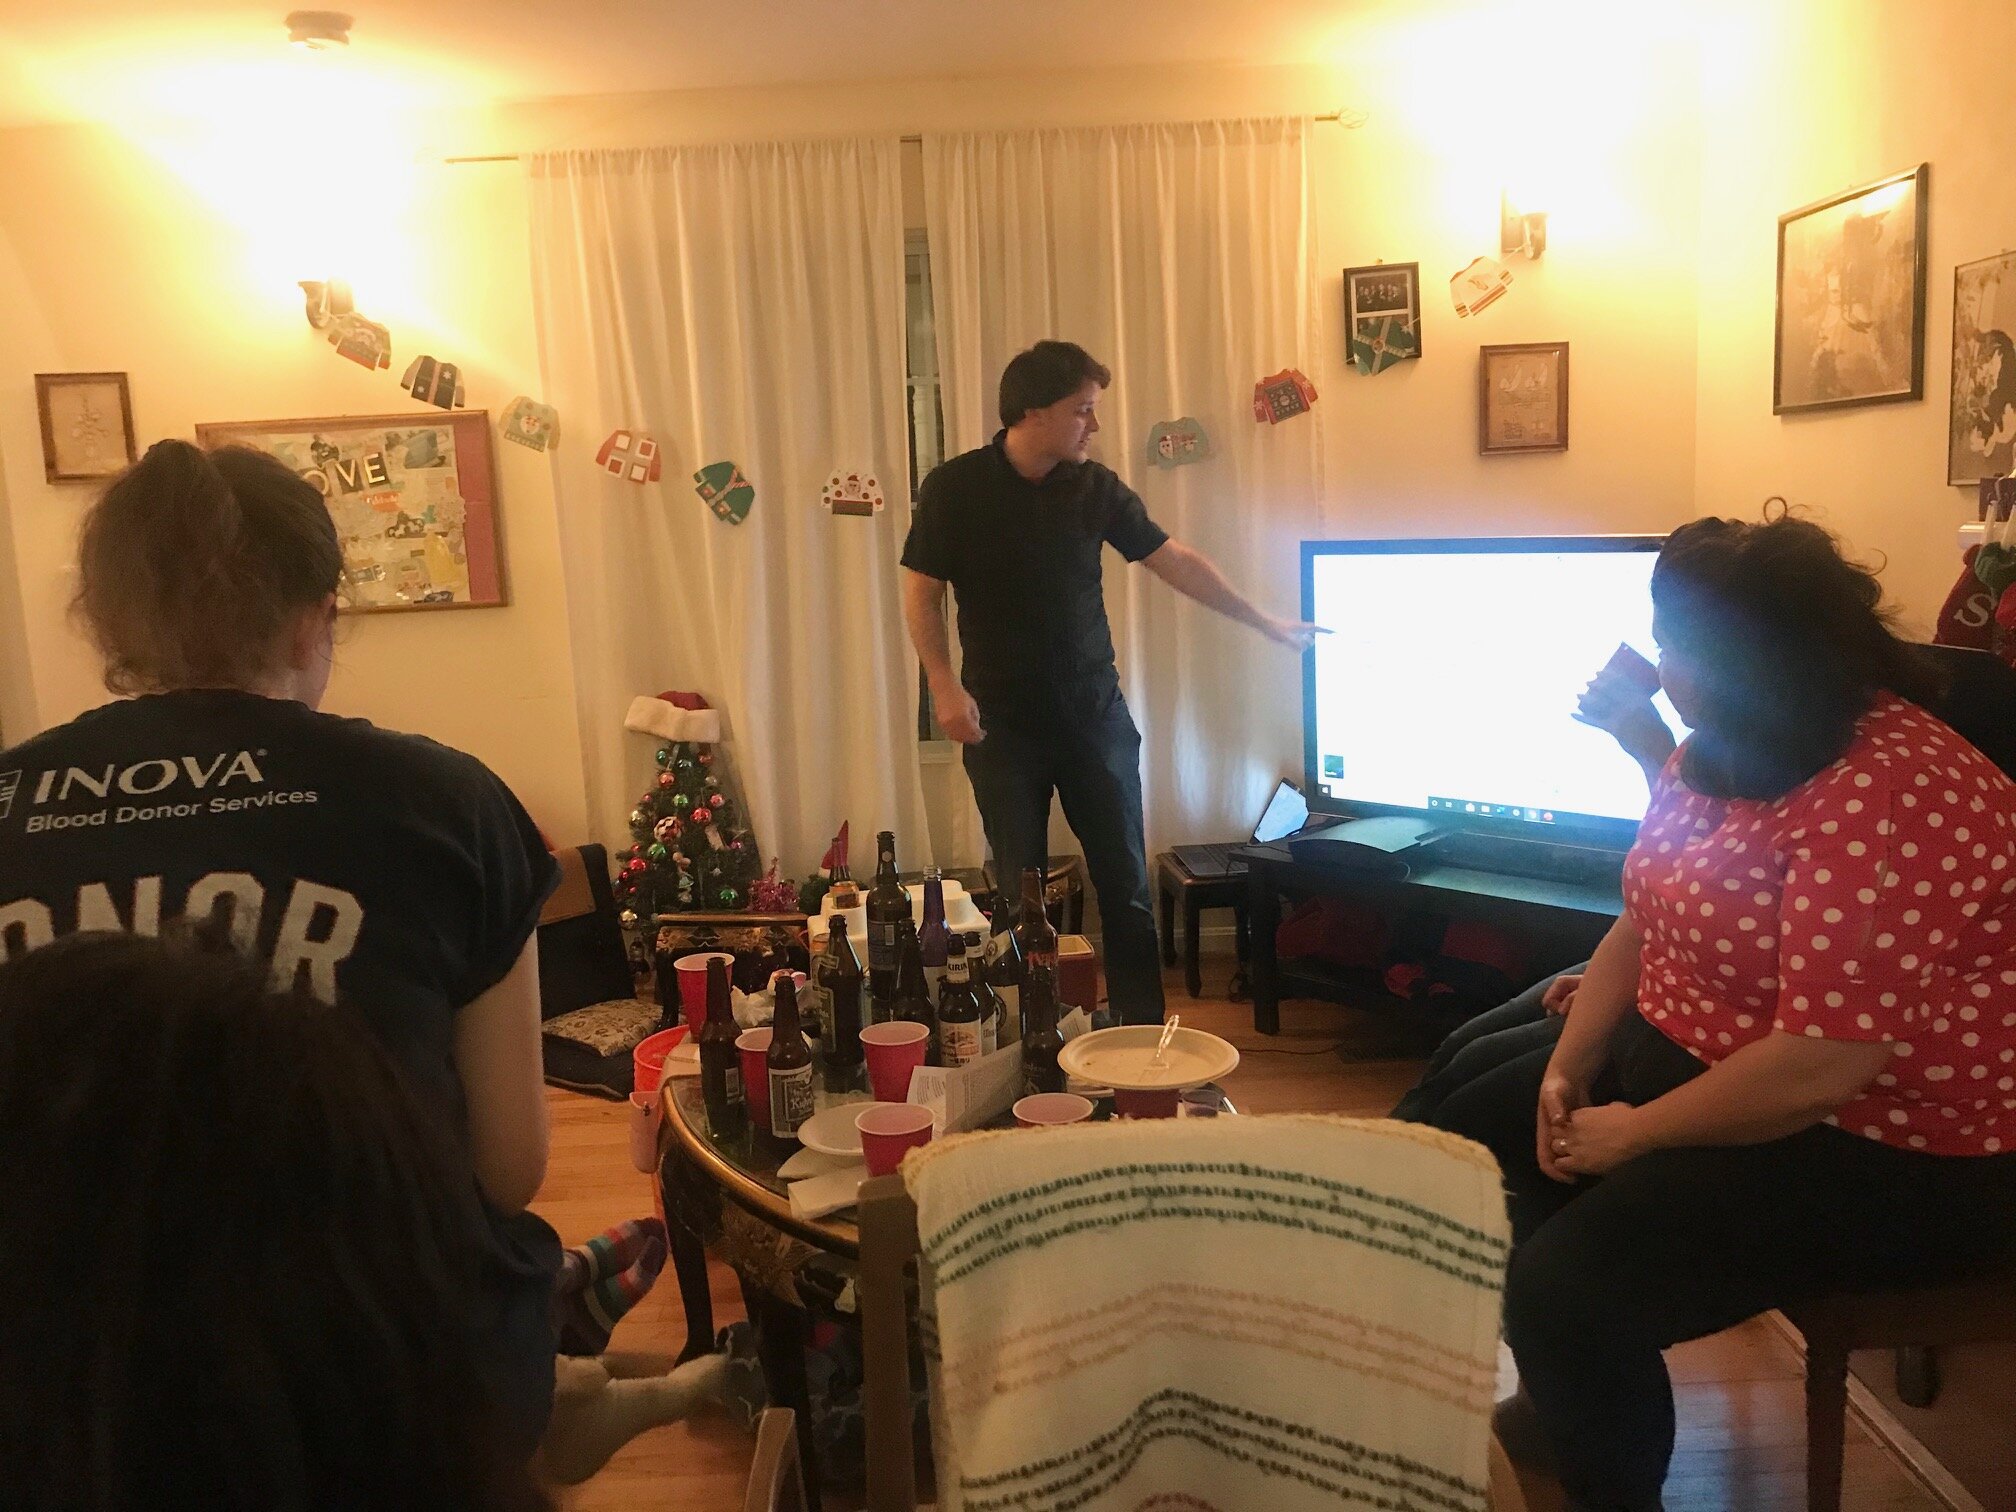
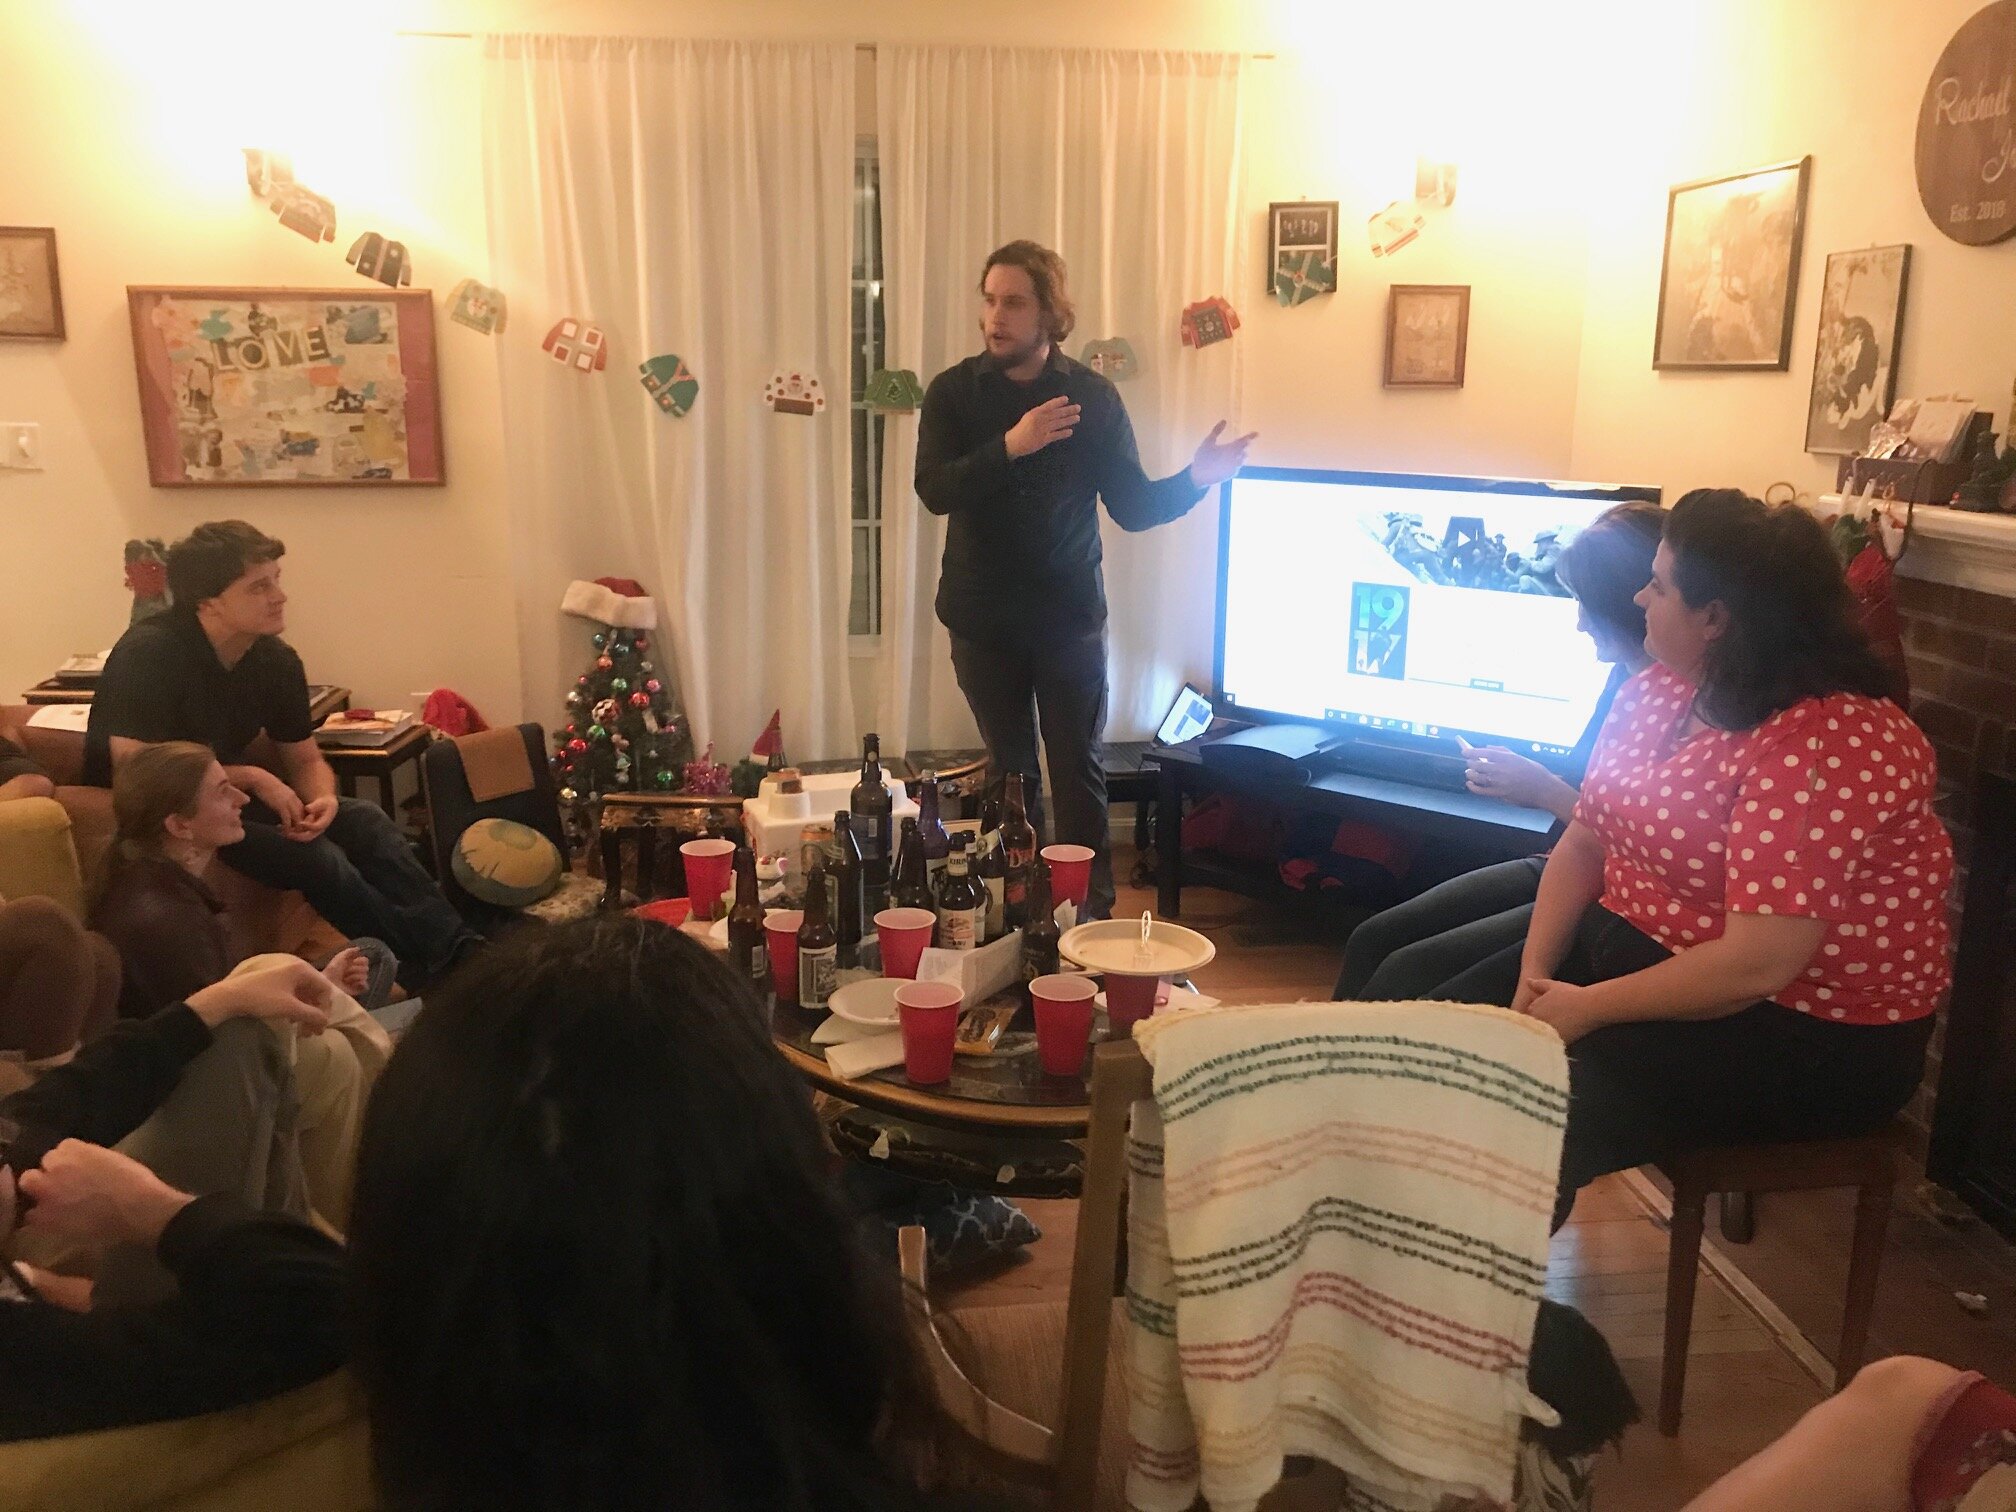
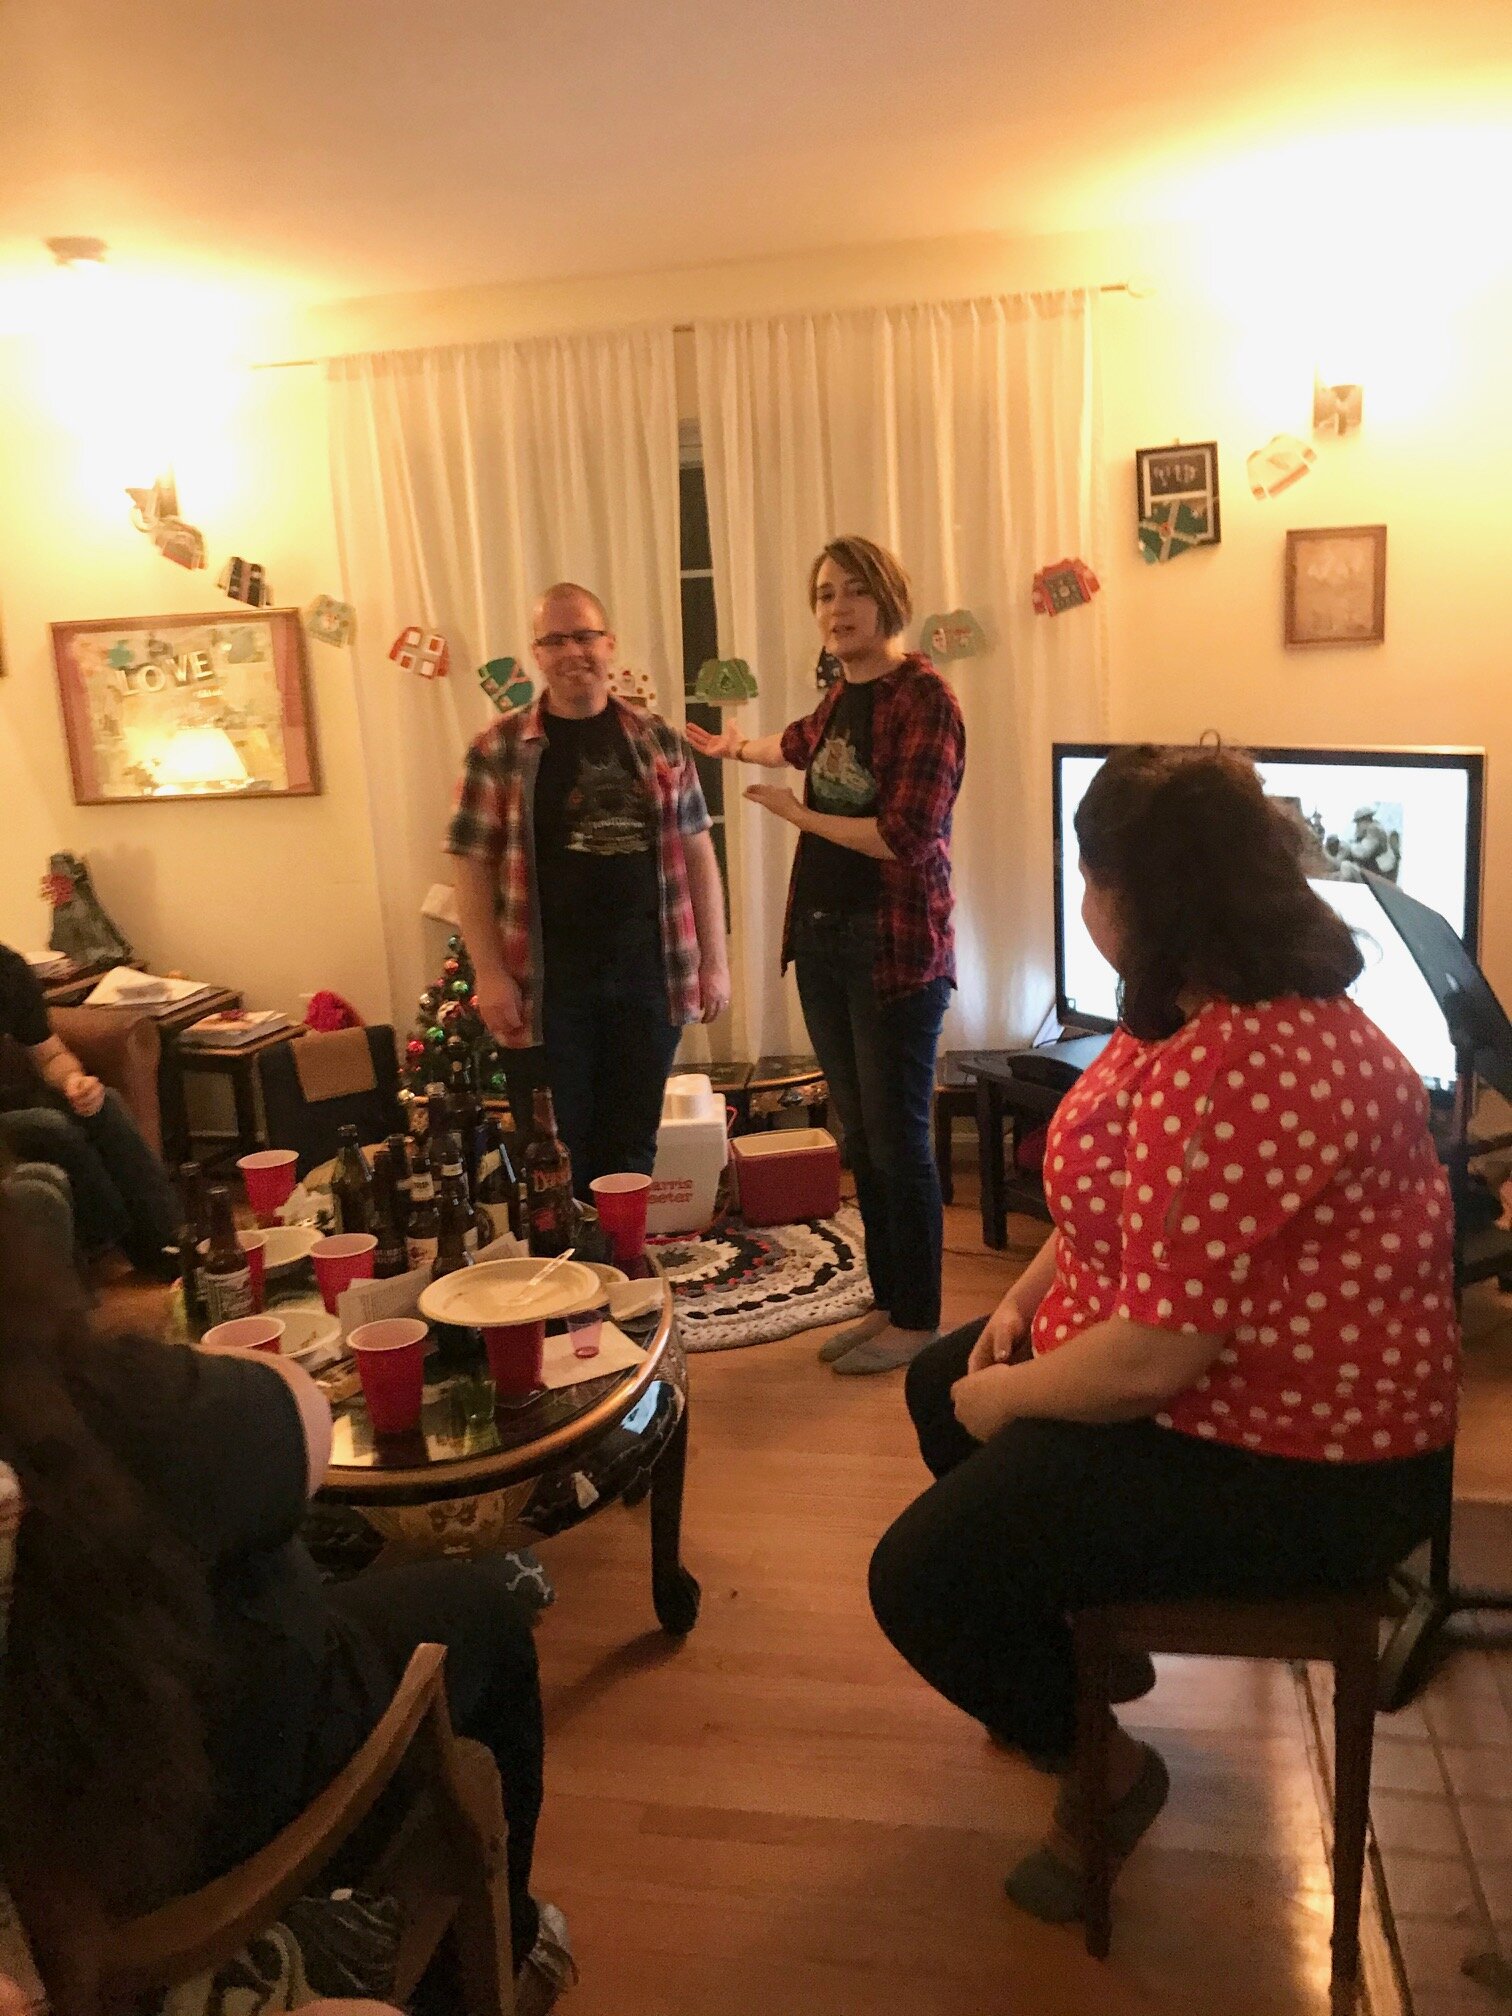
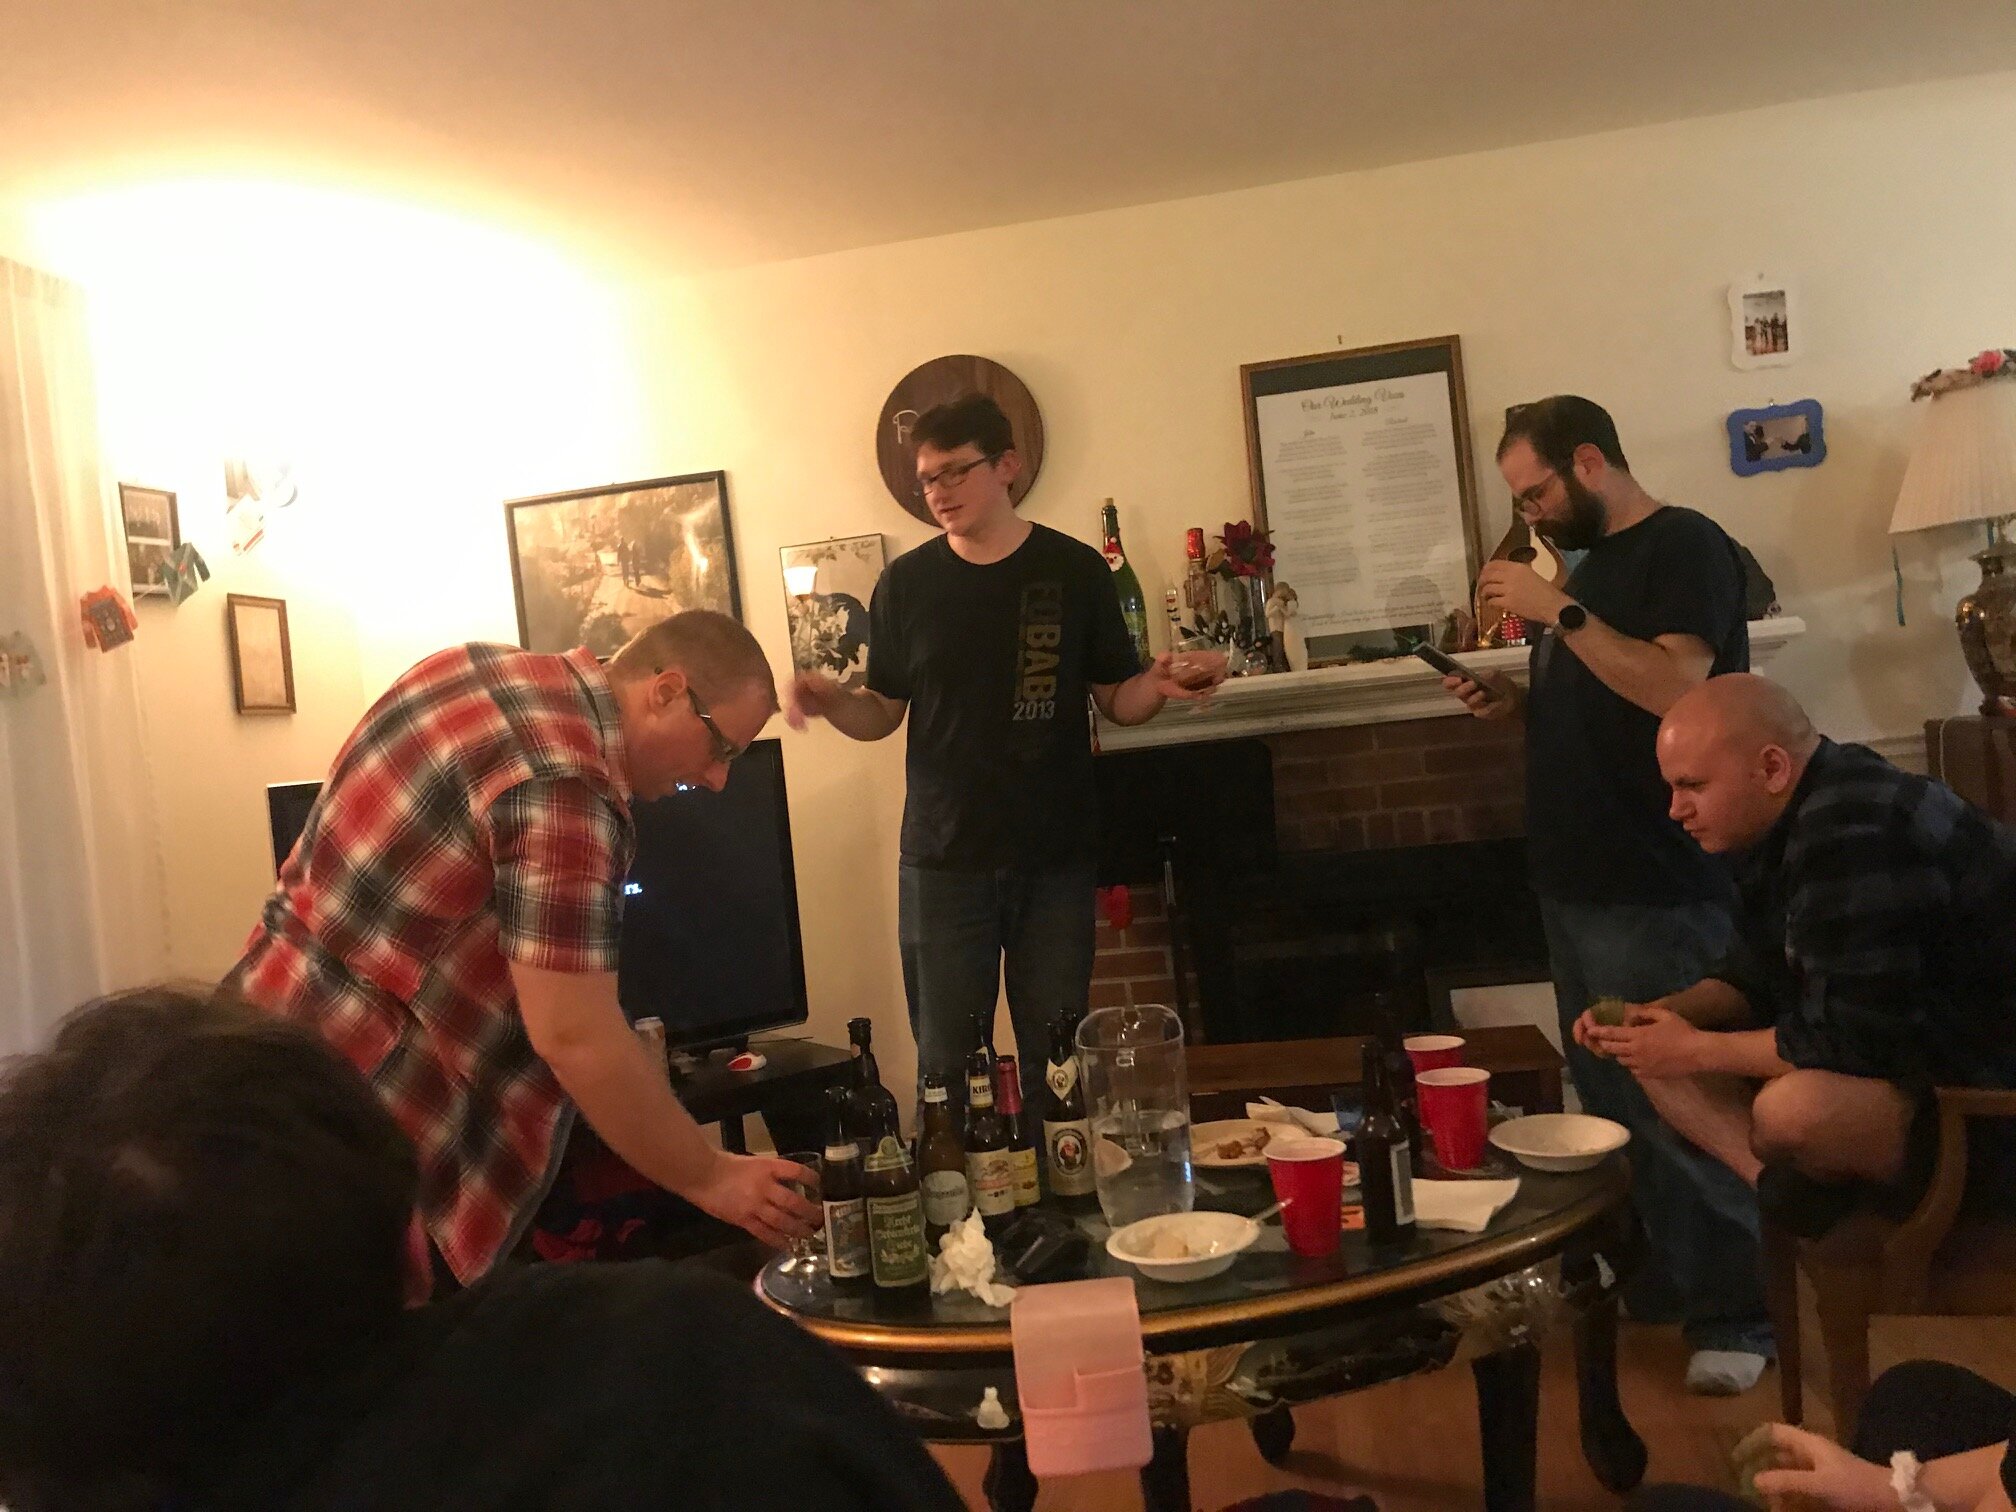
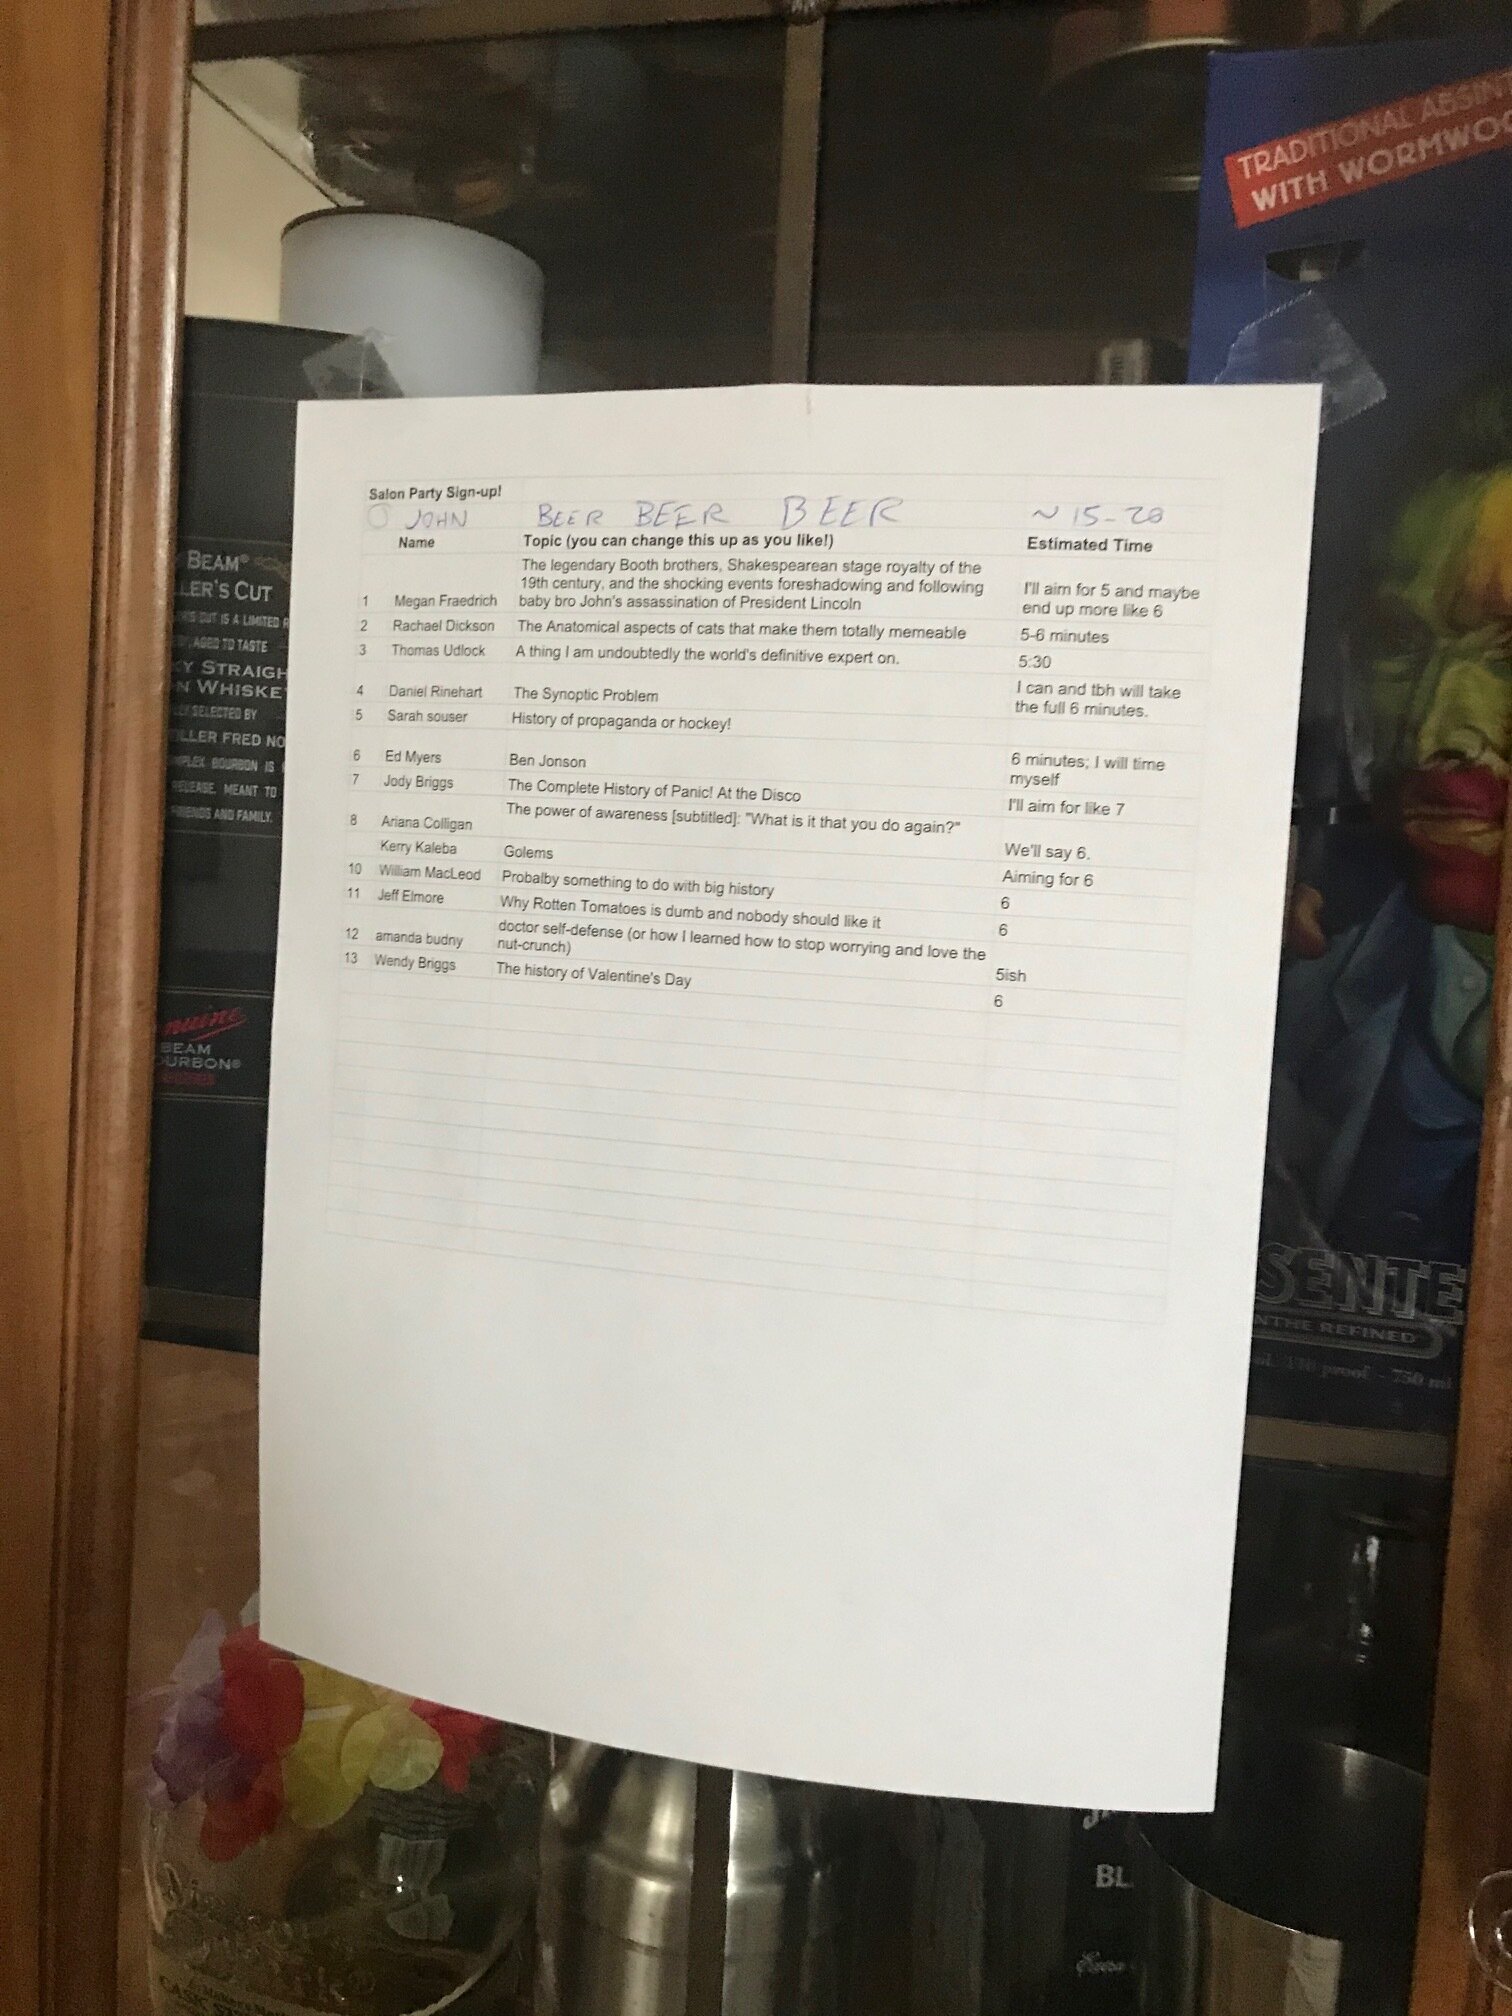
I was very pleased by how all the timing worked out! The party started at 6 but we didn't end up starting the talks until 6:50, when more people had arrived. John talked about 40 minutes, and then speaker went for around 10 minutes each, with very little time in between talks, just to keep things moving. We ended up having 13 people total talk and finished up the talks before 10 pm. At that point, we then broke for board games and card games and such.
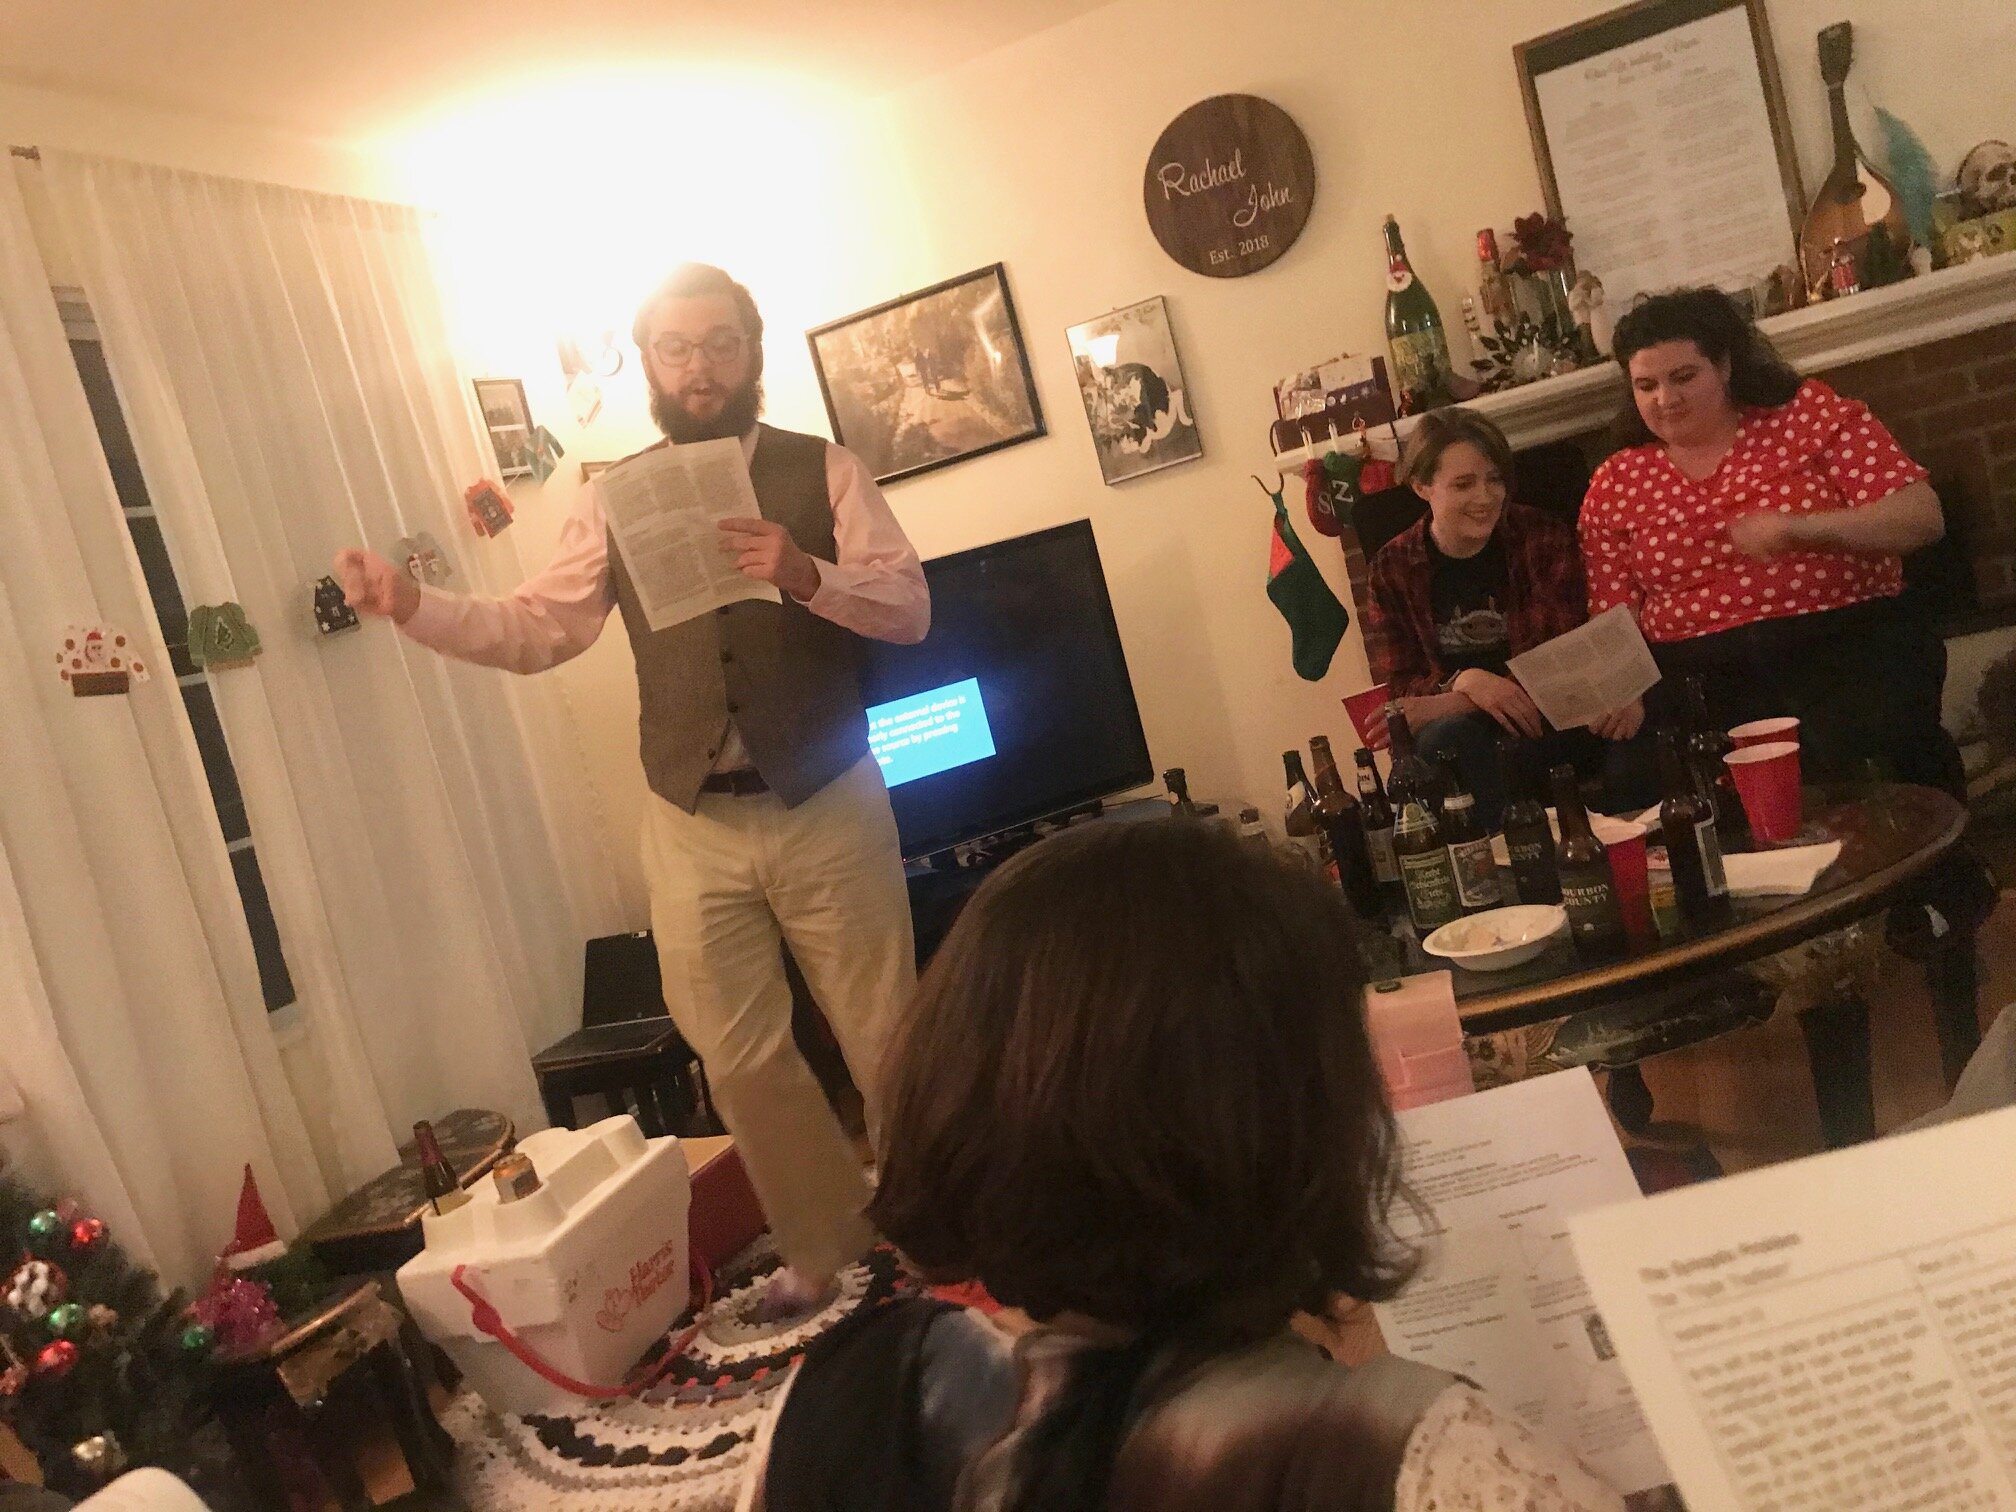
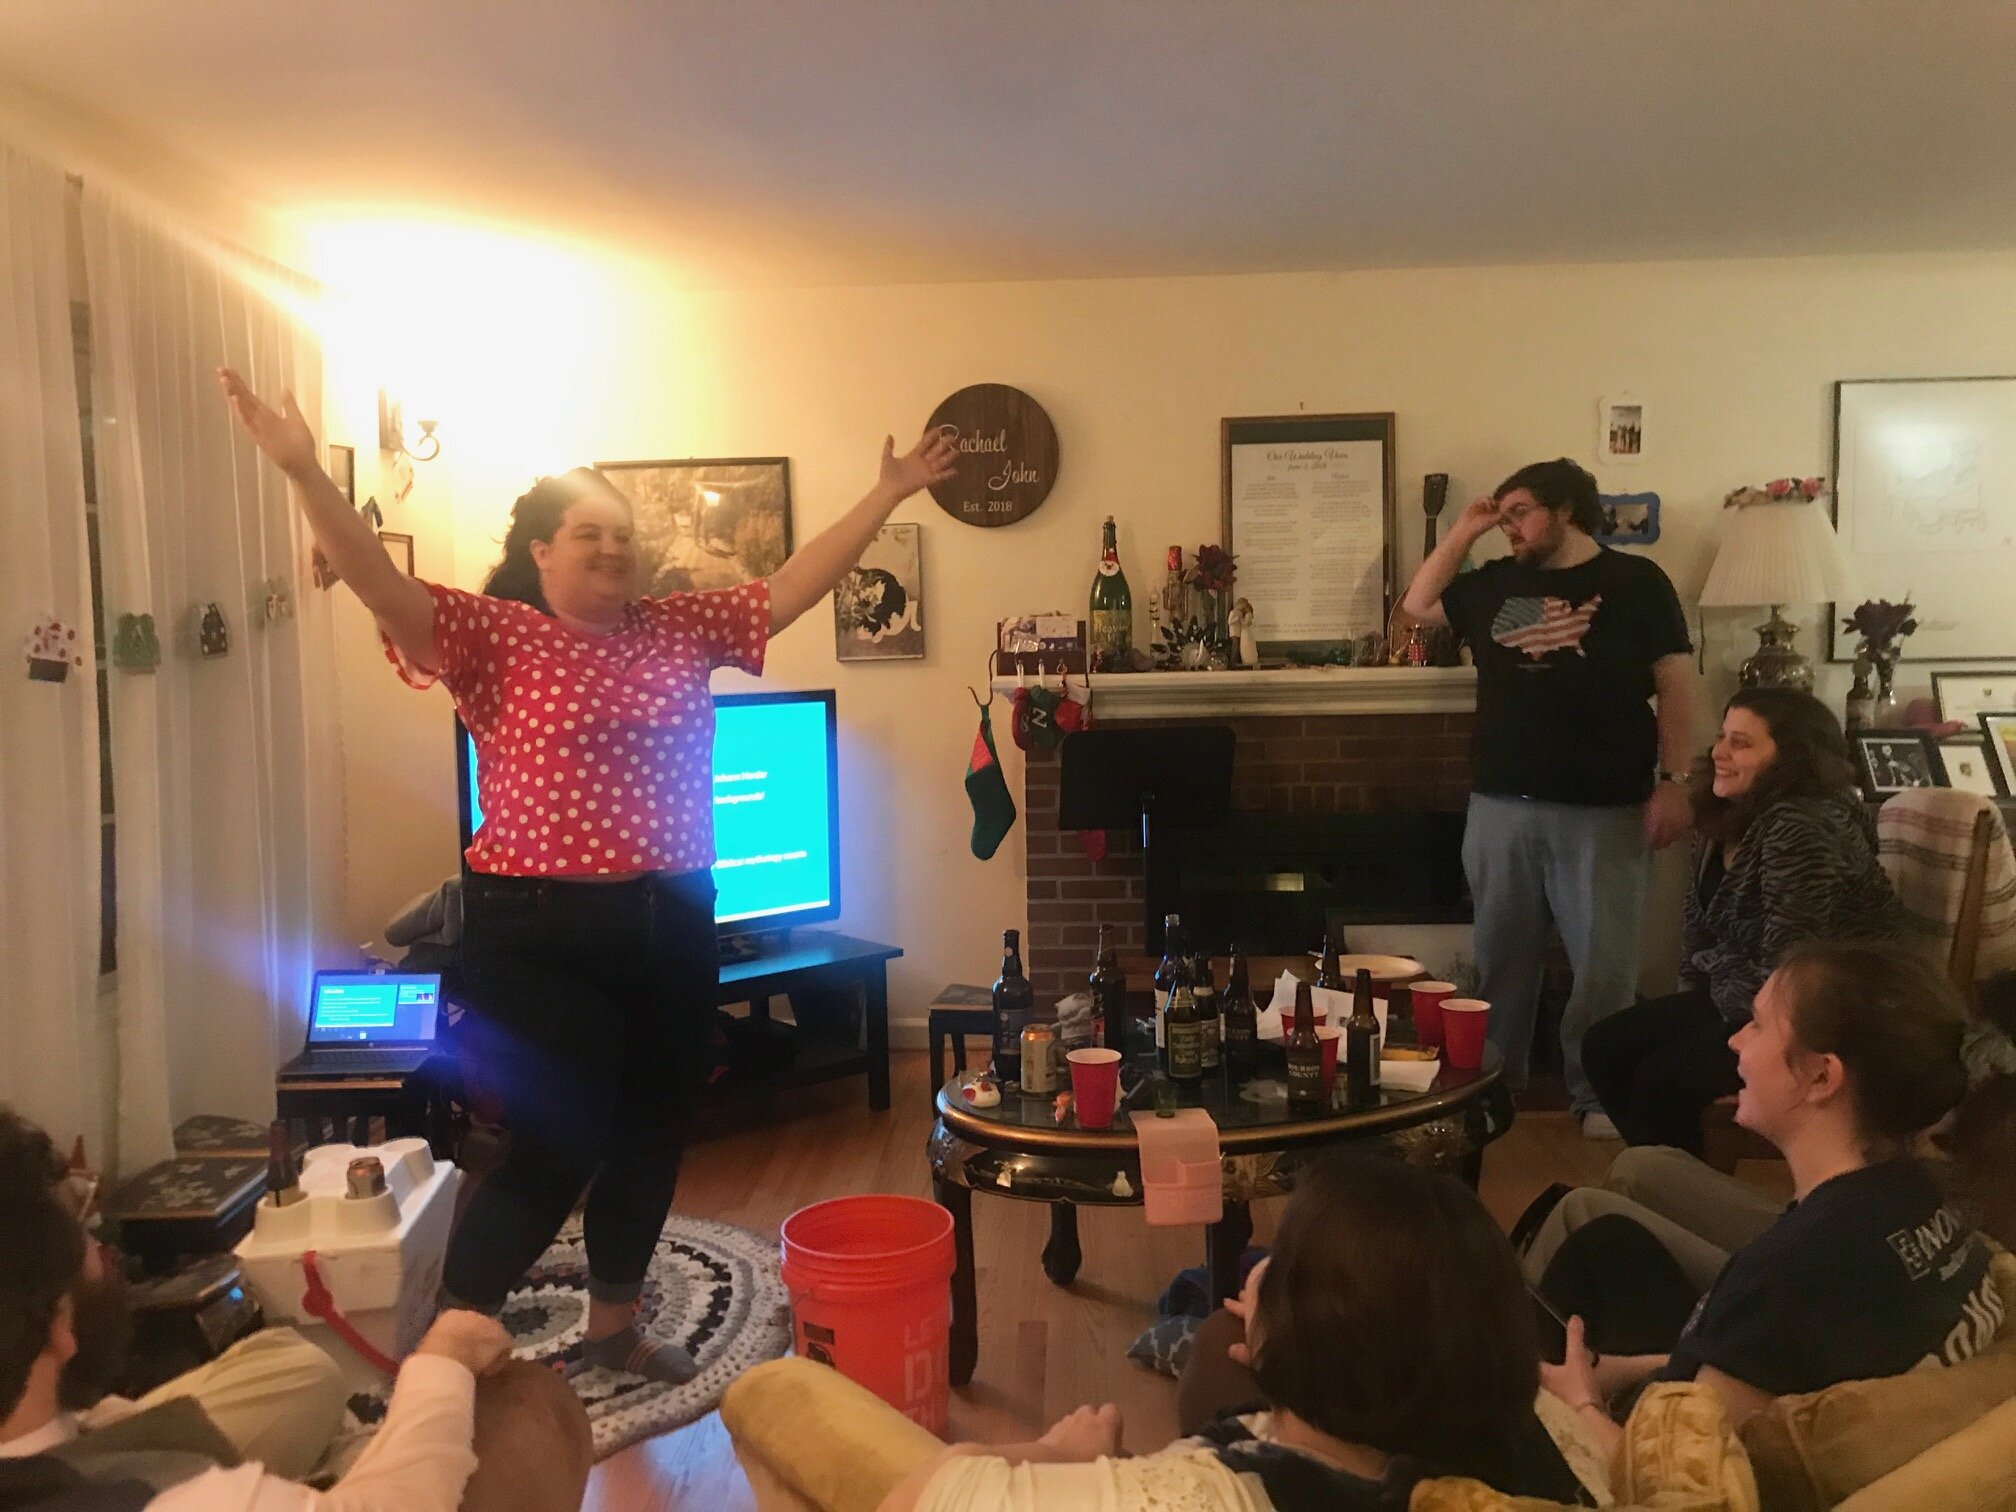
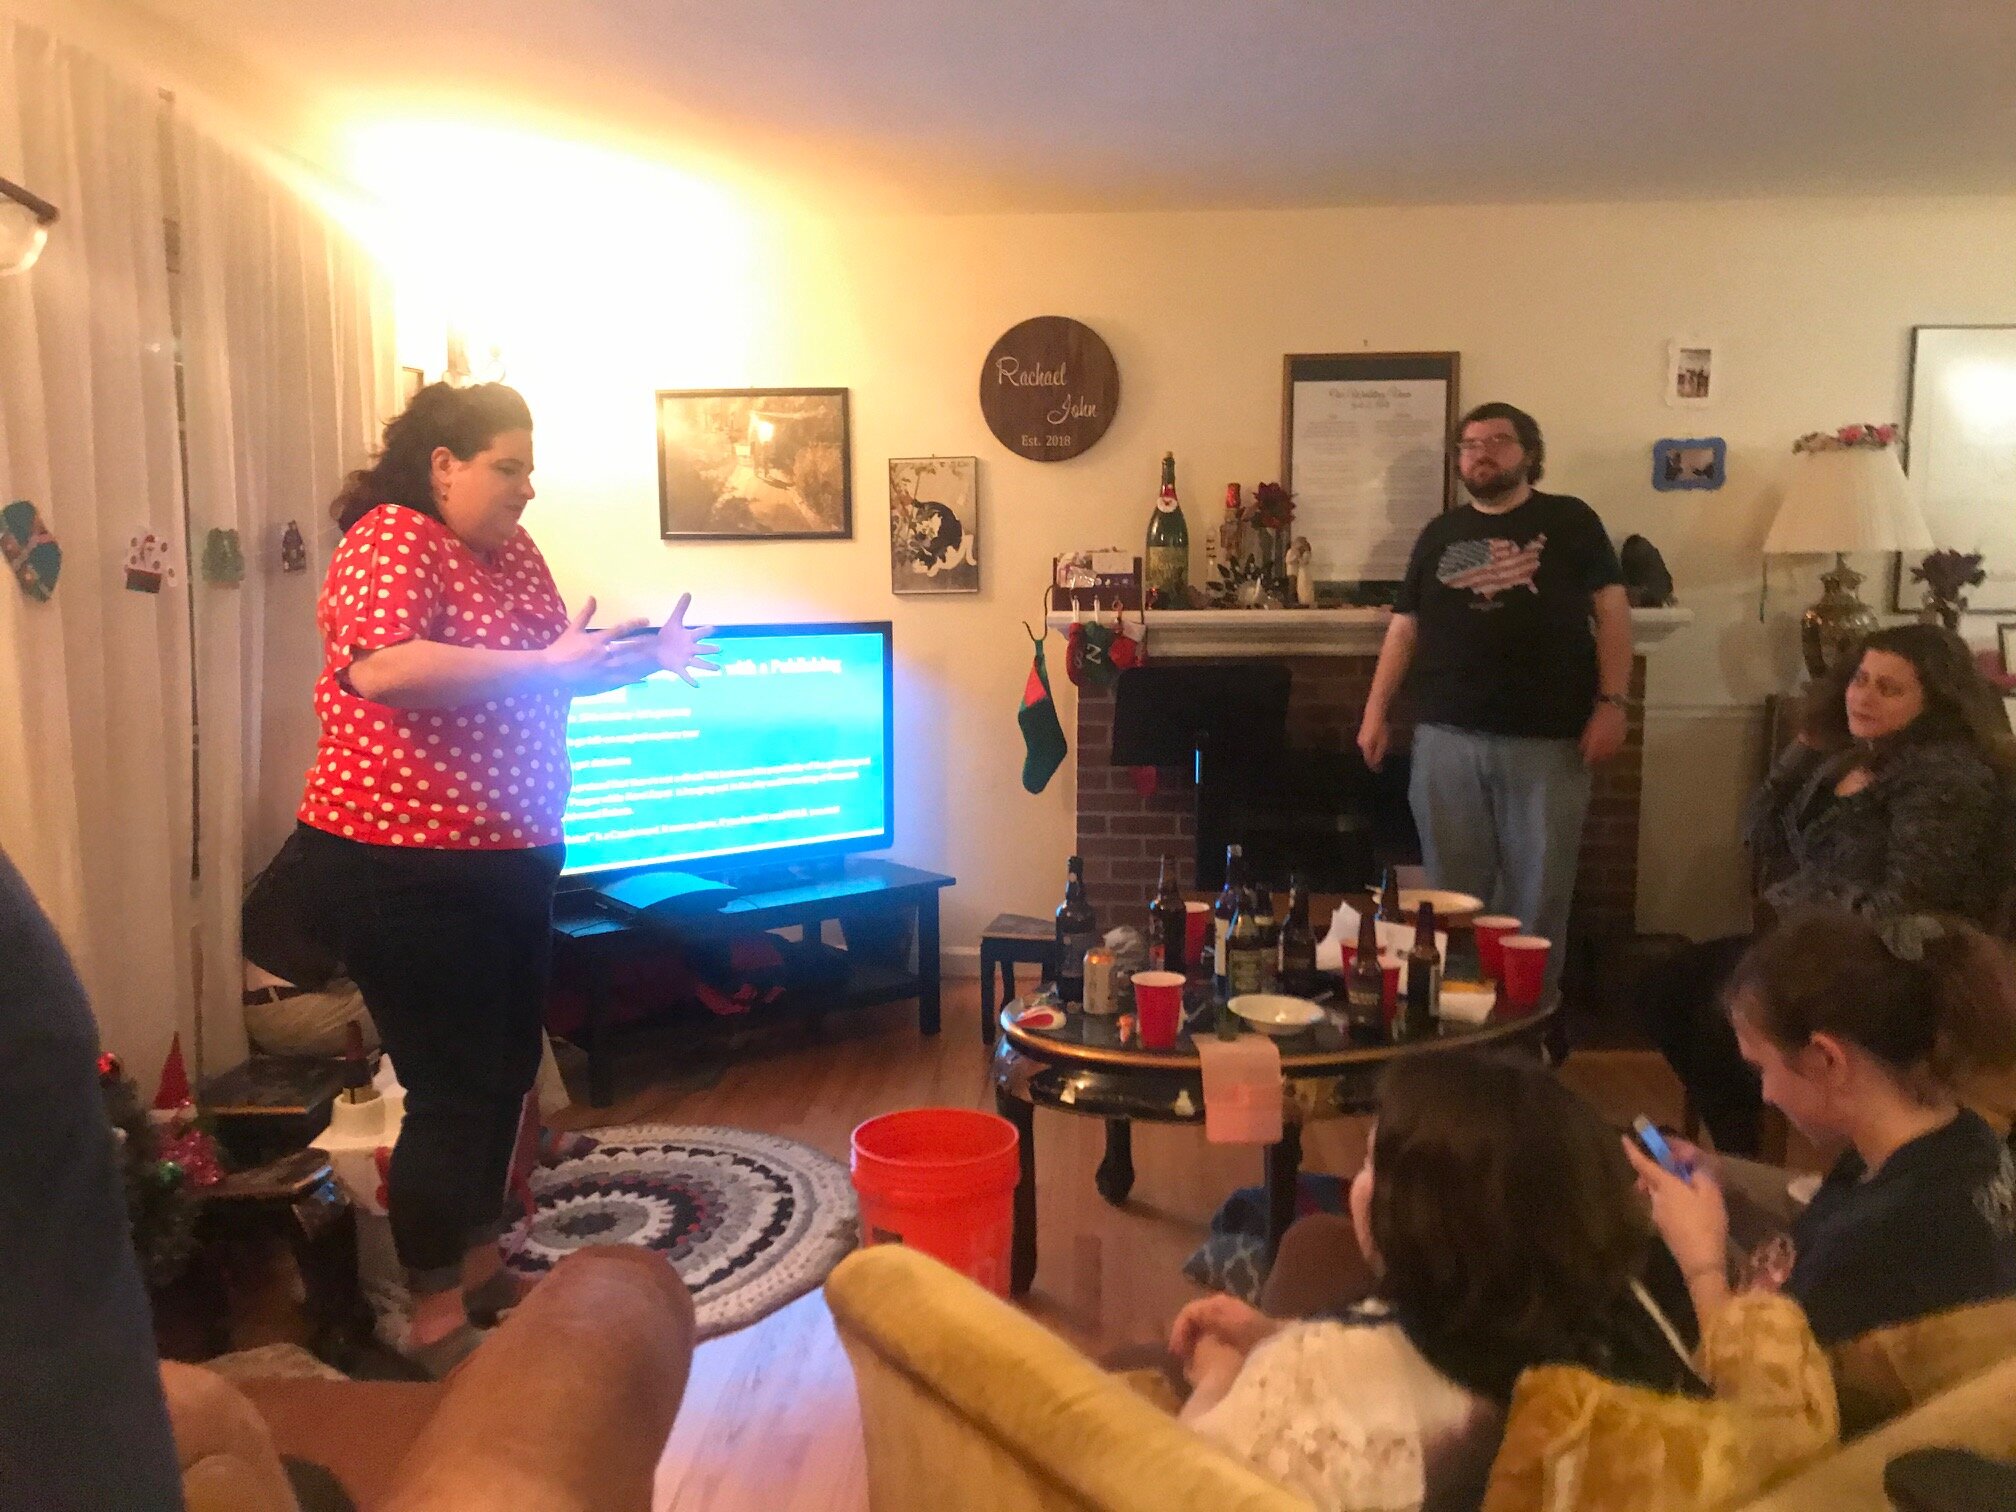
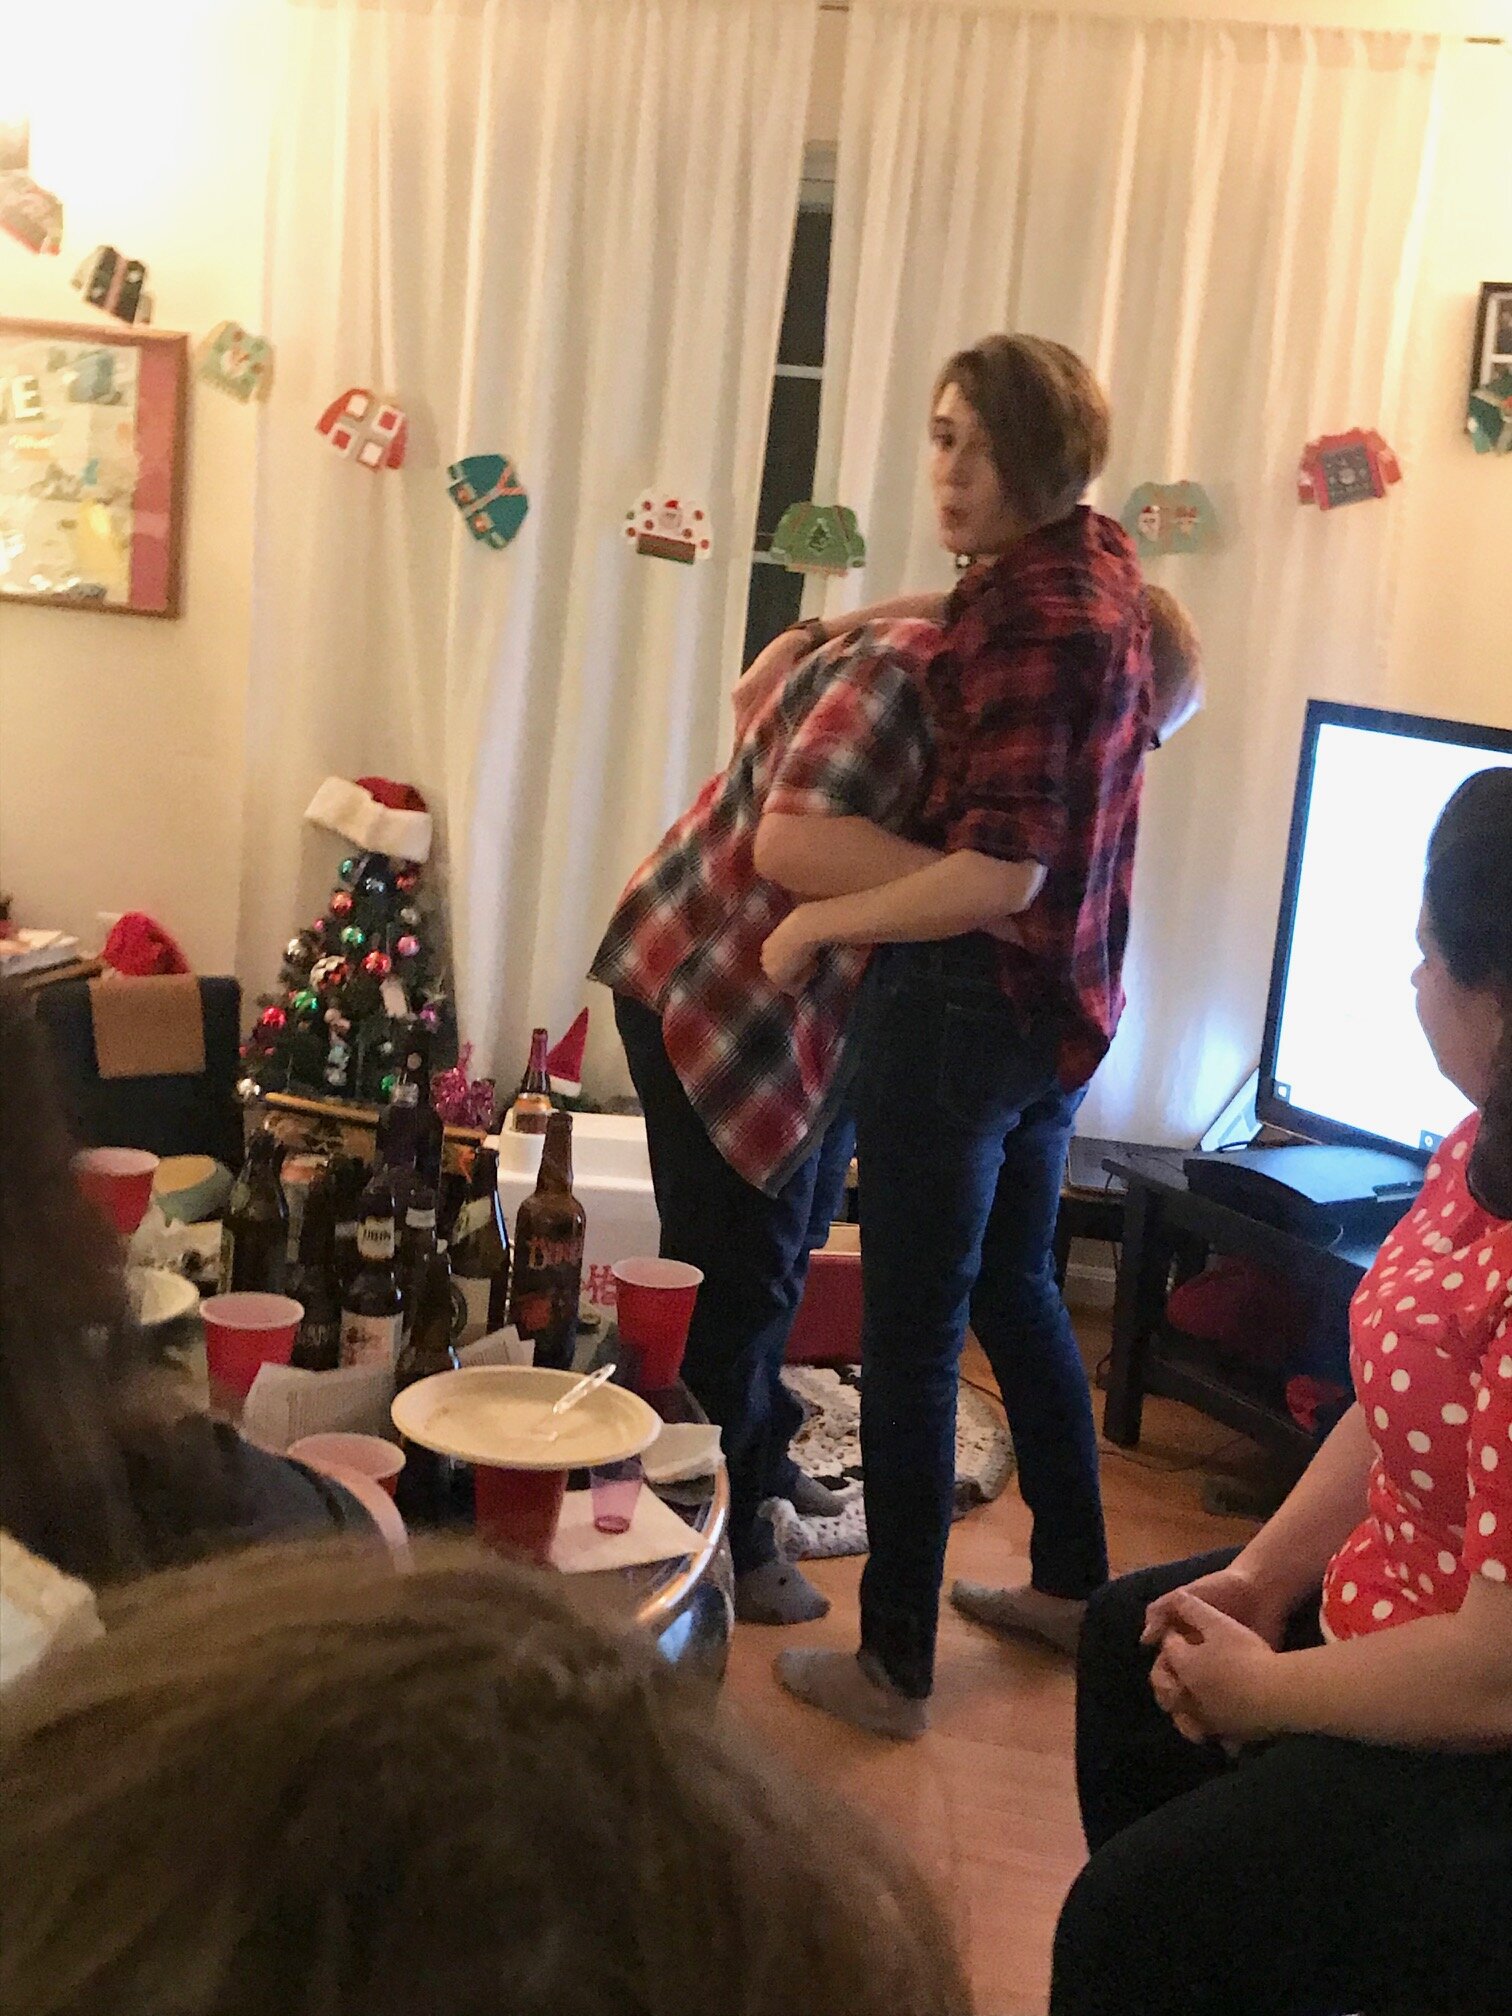
For administrative ease, speakers went in the order they signed up in, but I made sure to check whether anyone was on a time crunch and needed to go earlier than their original slot. We had such a wonderful variety of topics, from The Booth Brothers (of John Wilkes Booth' infamy), what it's like to be an identical twin, a comparison of the different Biblical gospels and their possible sources, Shakespeare-contemporary playwright Ben Jonson, Golems, a Swedish Christmas tradition involving a giant straw goat which is generally burned down every year, how the Appalachian mountains affected history, why Rotten Tomatoes is dumb, basic self defense moves, and the russian second fleet expedition! I myself spoke about the anatomical aspects of cats that make them totally memeable (I'll post this up as a separate blog post soon - I also think it would make a really wonderful youtube video. I've wanted to get into making videos of some of my blog content for a while and just haven't had a change to sit down and figure it out yet!).
We had some great audience interaction! Gentle friendly heckling and trolling, questions, etc. Generally, that interaction seemed to add to the presentations rather than take away from them. John got a little irritated by all the non-beer drinkers talking during his presentation, so at that point, I just strongly encouraged them to go hang out in the basement and chat there instead; that helped a lot!
Administrative aspects:
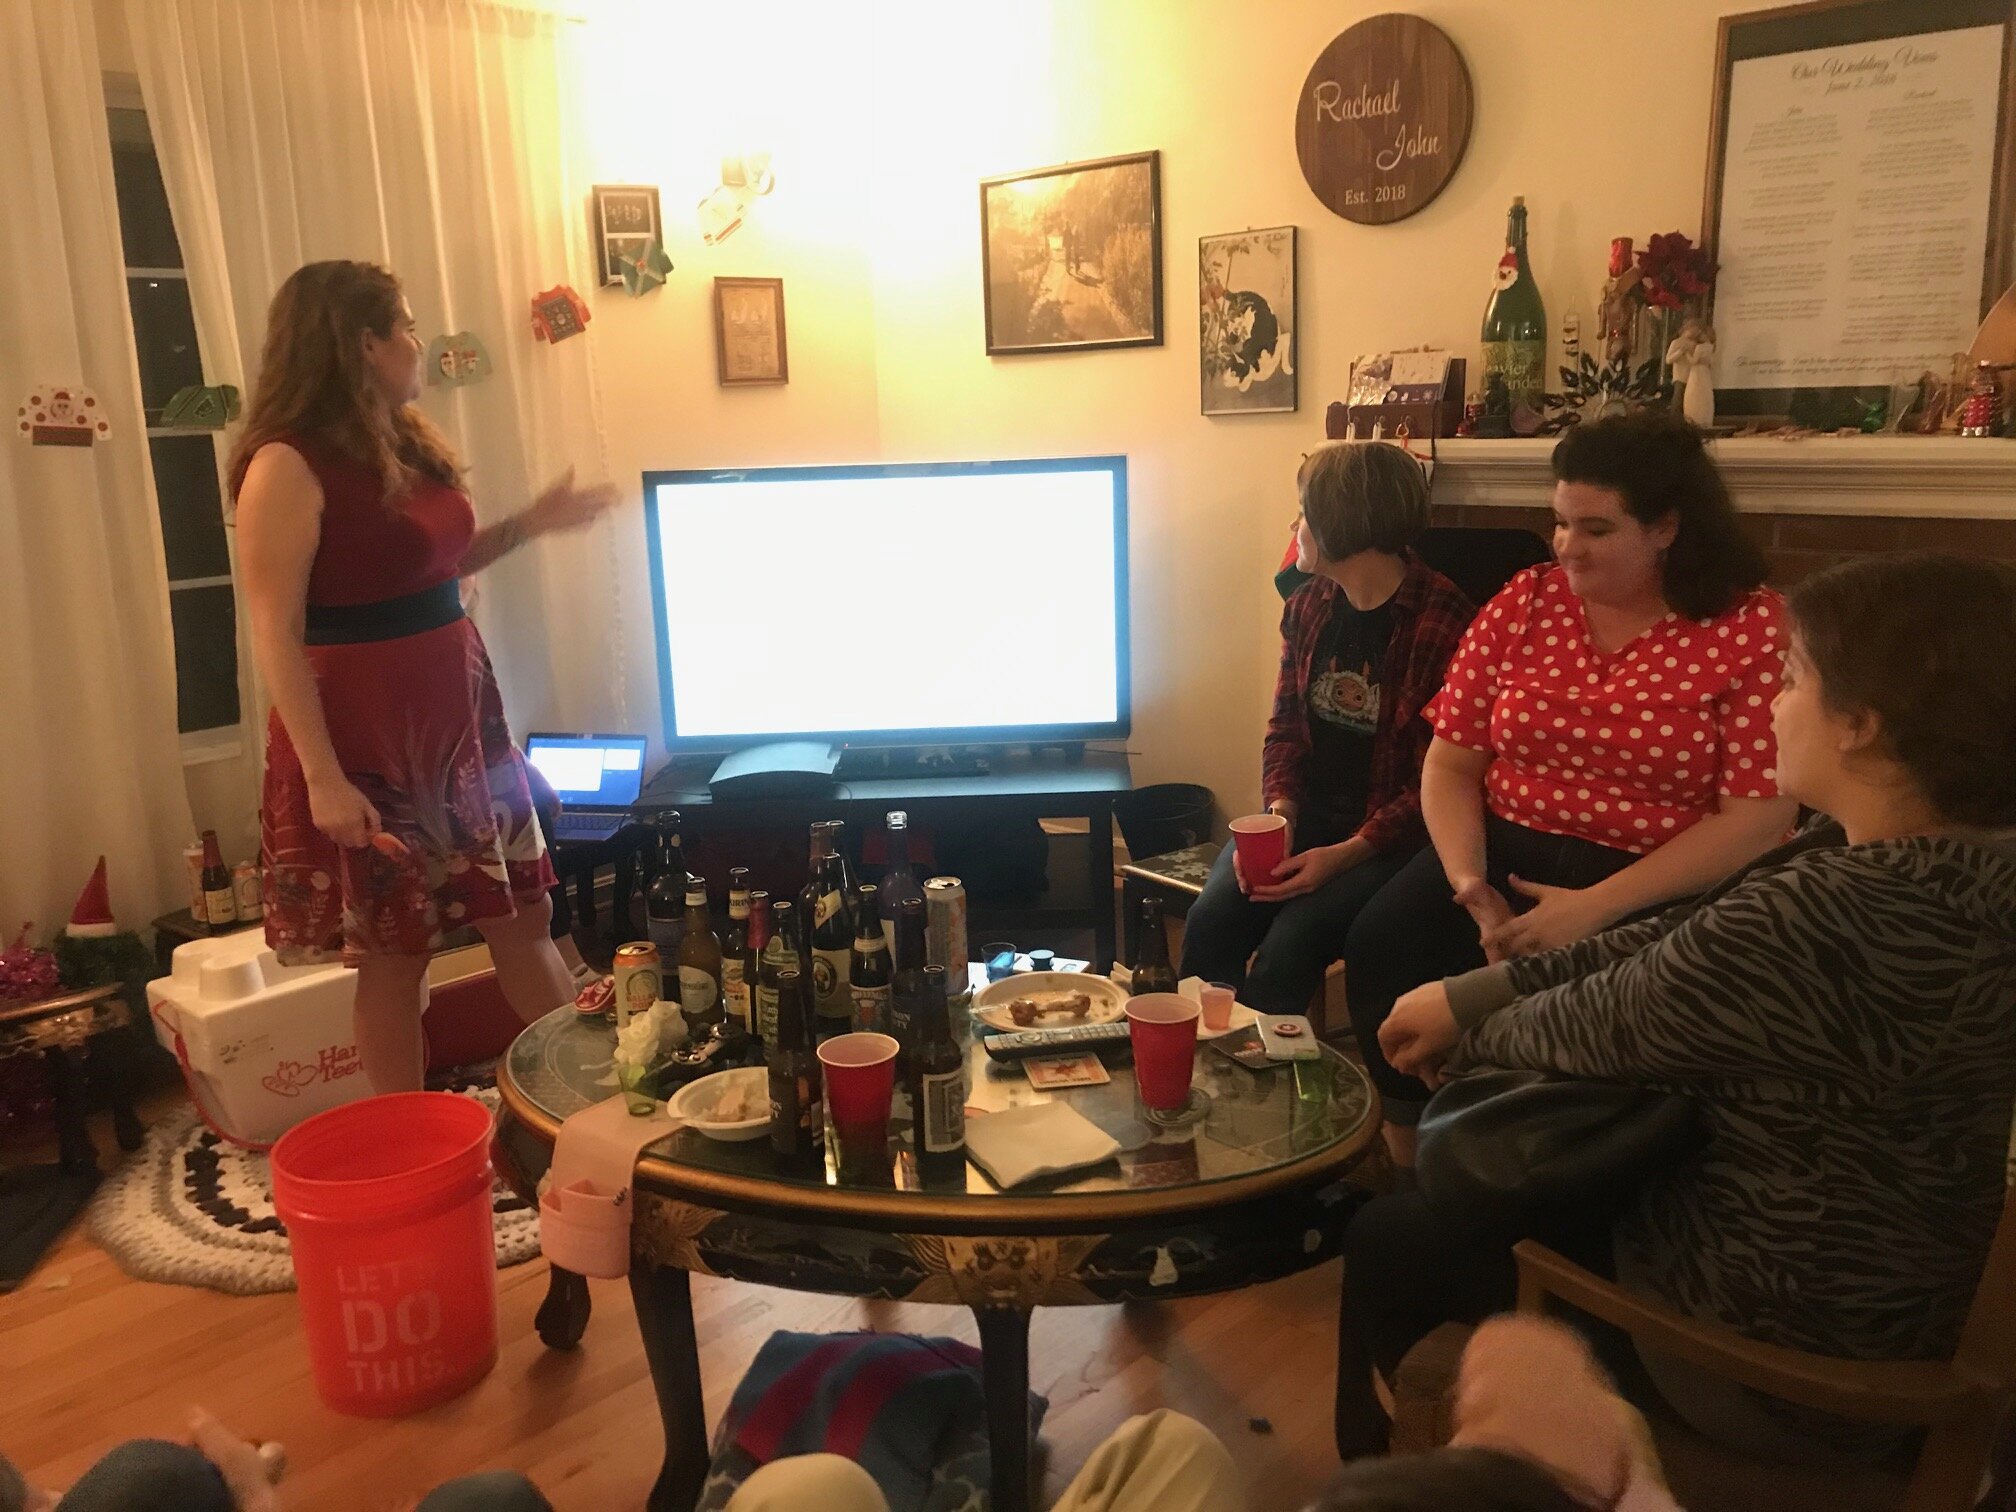
- Visual aids - I originally didn't want anyone to try to use a powerpoint presentation because I've been through too many meetings or classes where technology failed us, but friends coaxed me into it. My friend Sarah brought her laptop, hooked it up to our TV with an [hdmi?] cable, and then we had people email their powerpoint presentations to her. This actually worked really well, without any problems! And even people who didn't end up using slideshows benefited from it, as Sarah was able to pull up maps to use as illustrations and such. One speaker also brought some handouts comparing the different gospels he was talking about, which was cool!
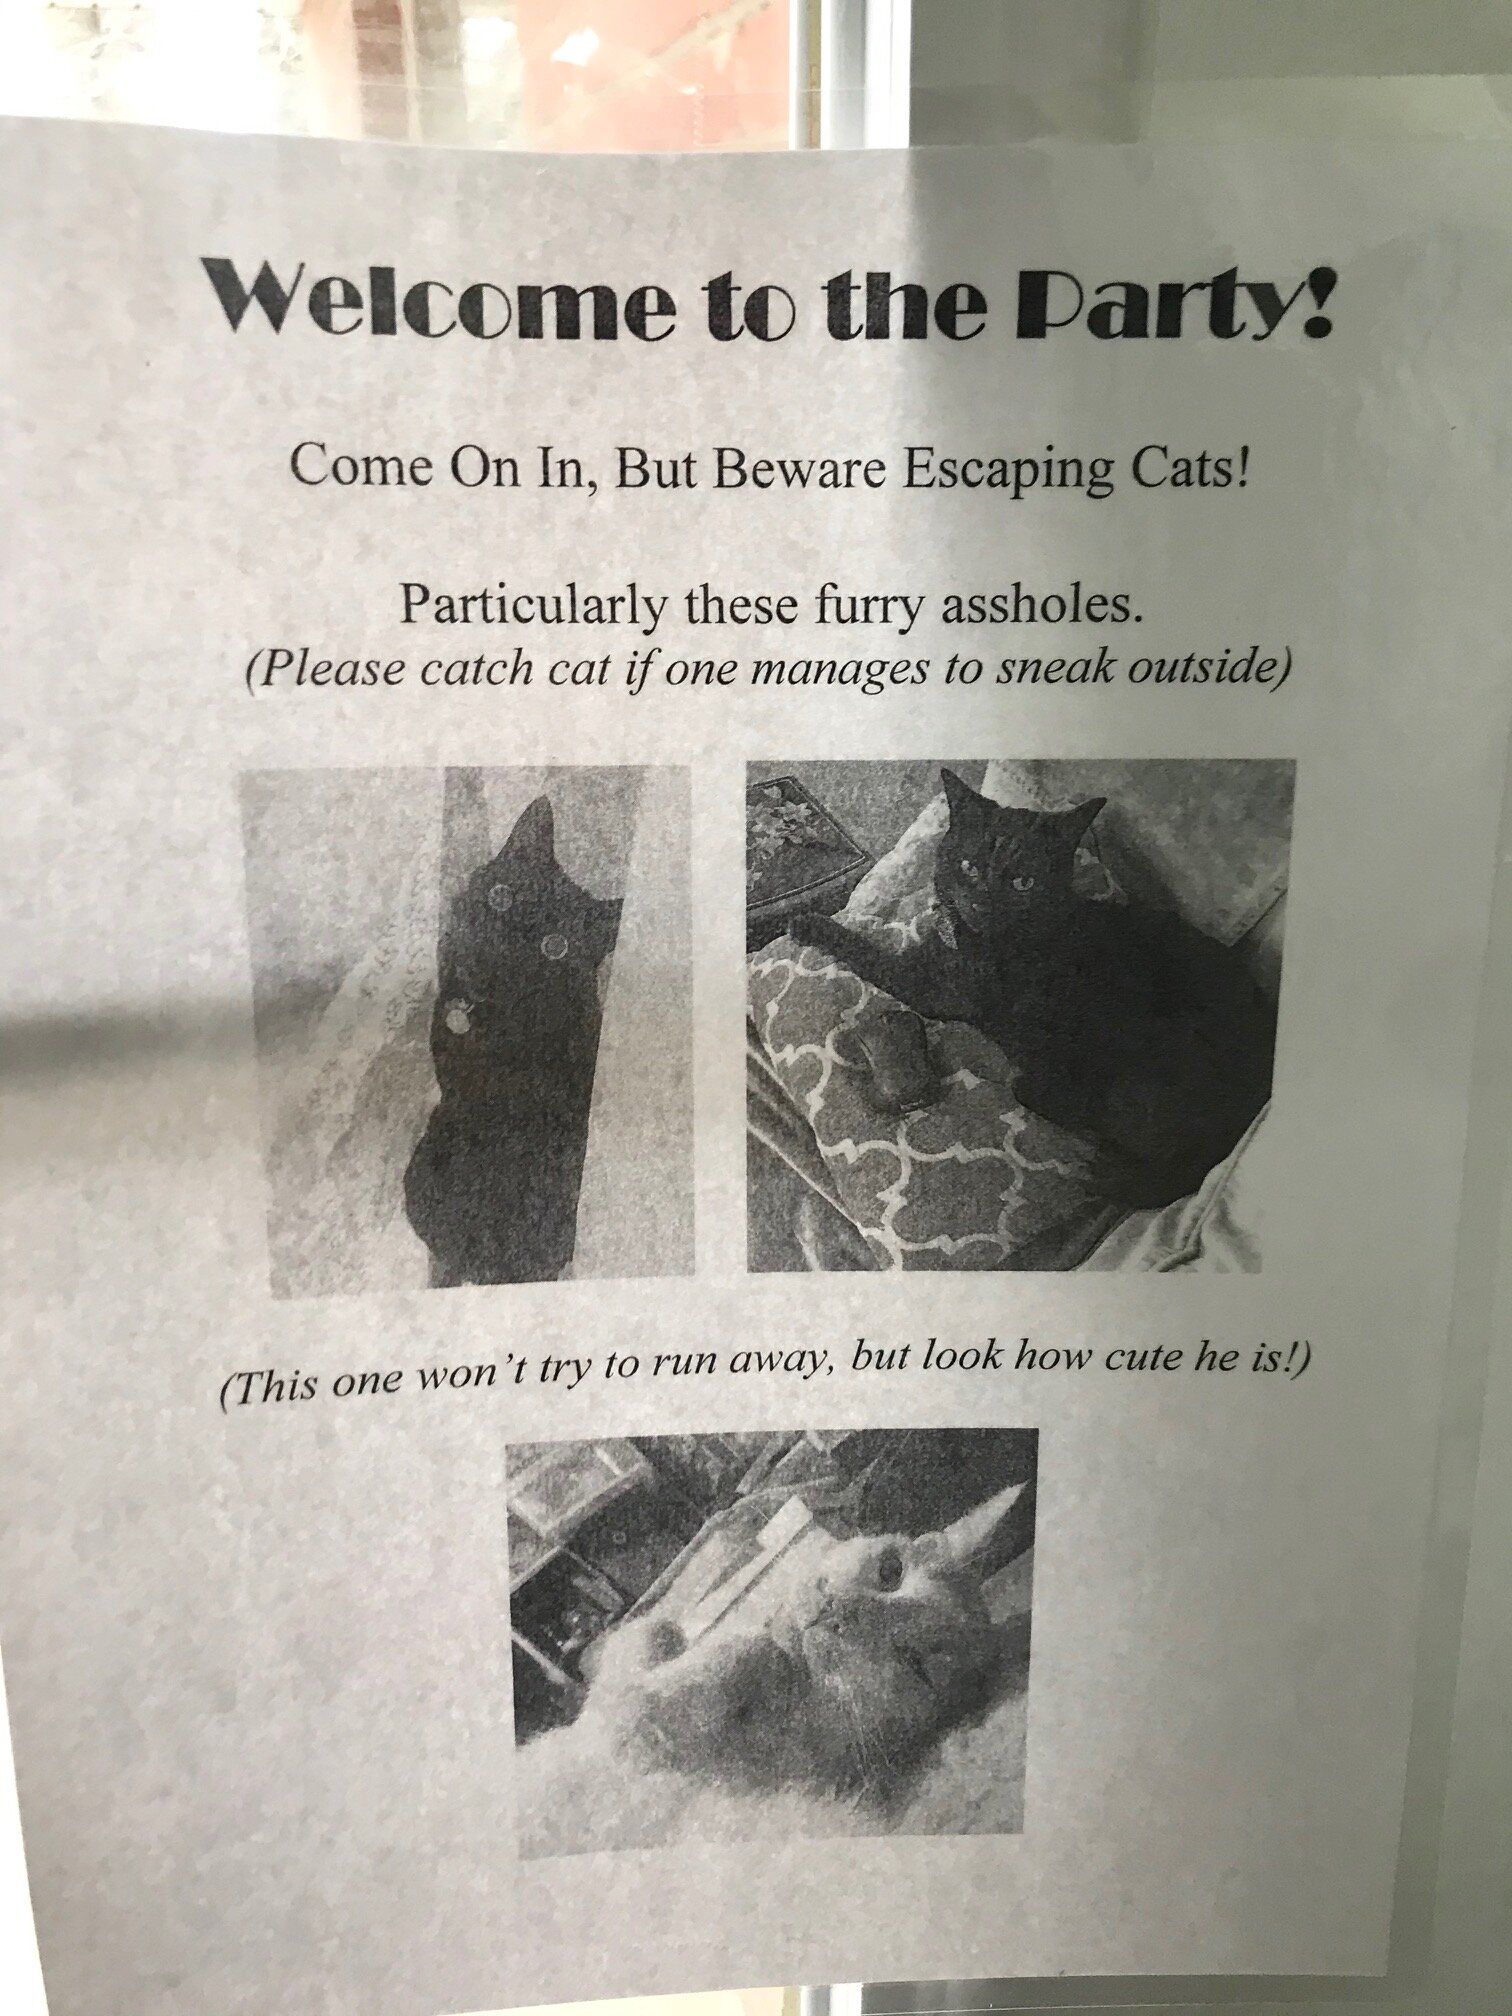
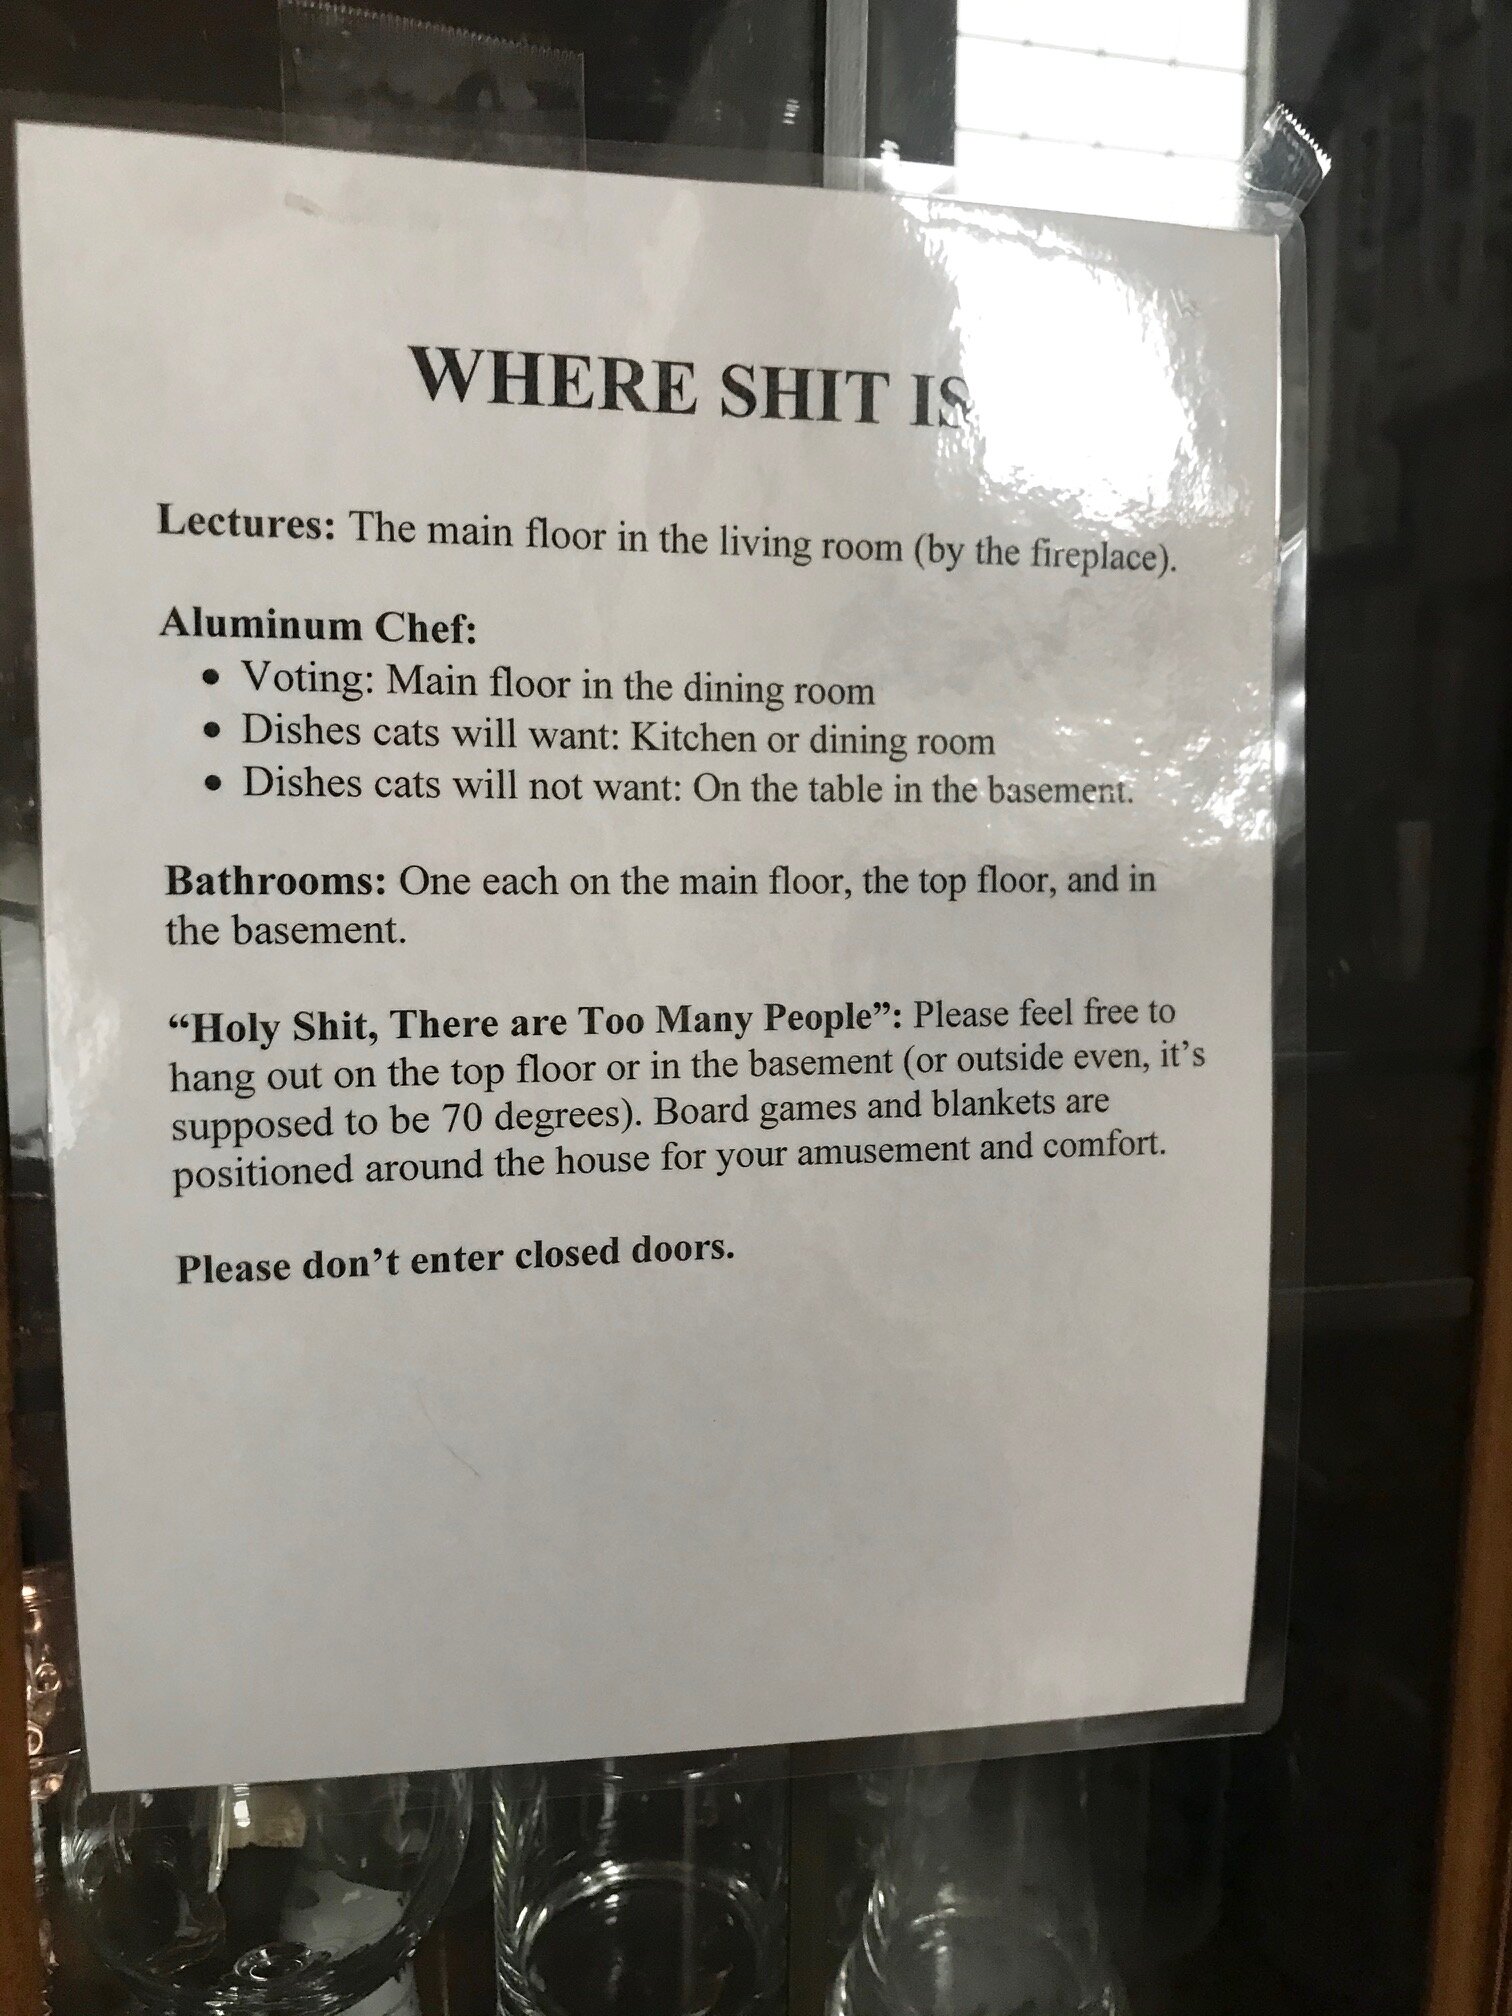
- Signs - I'm kind of a nut for signs and put them and various post it notes all around the house, explaining where the talks where taking place and how it was going to work. I also posted the signup sheet so we could refer to it to see who was going next.
- Seating - I moved in chairs and stools from around the house and positioned them in a semi circle facing the TV/speaker. I also had chairs positioned further away, around the kitchen table, so people could listen but be a little away from the crowd if they wanted. This room is also conveniently situated near a staircase, where people could sit if needed. Several people did end up standing, but it always seemed like they had the option of sitting if they so chose.
- Places to escape - Because of my own ADHD and depression issues, I really try to be aware of people's mental/emotional need to escape somewhere quieter at a party. We had both our basement and our upstairs landing set up with chairs, board games, and blankets for anyone who wanted to use them. I'm not certain how much our upstairs setup was used, but at least our set up of it means it got cleaned up!
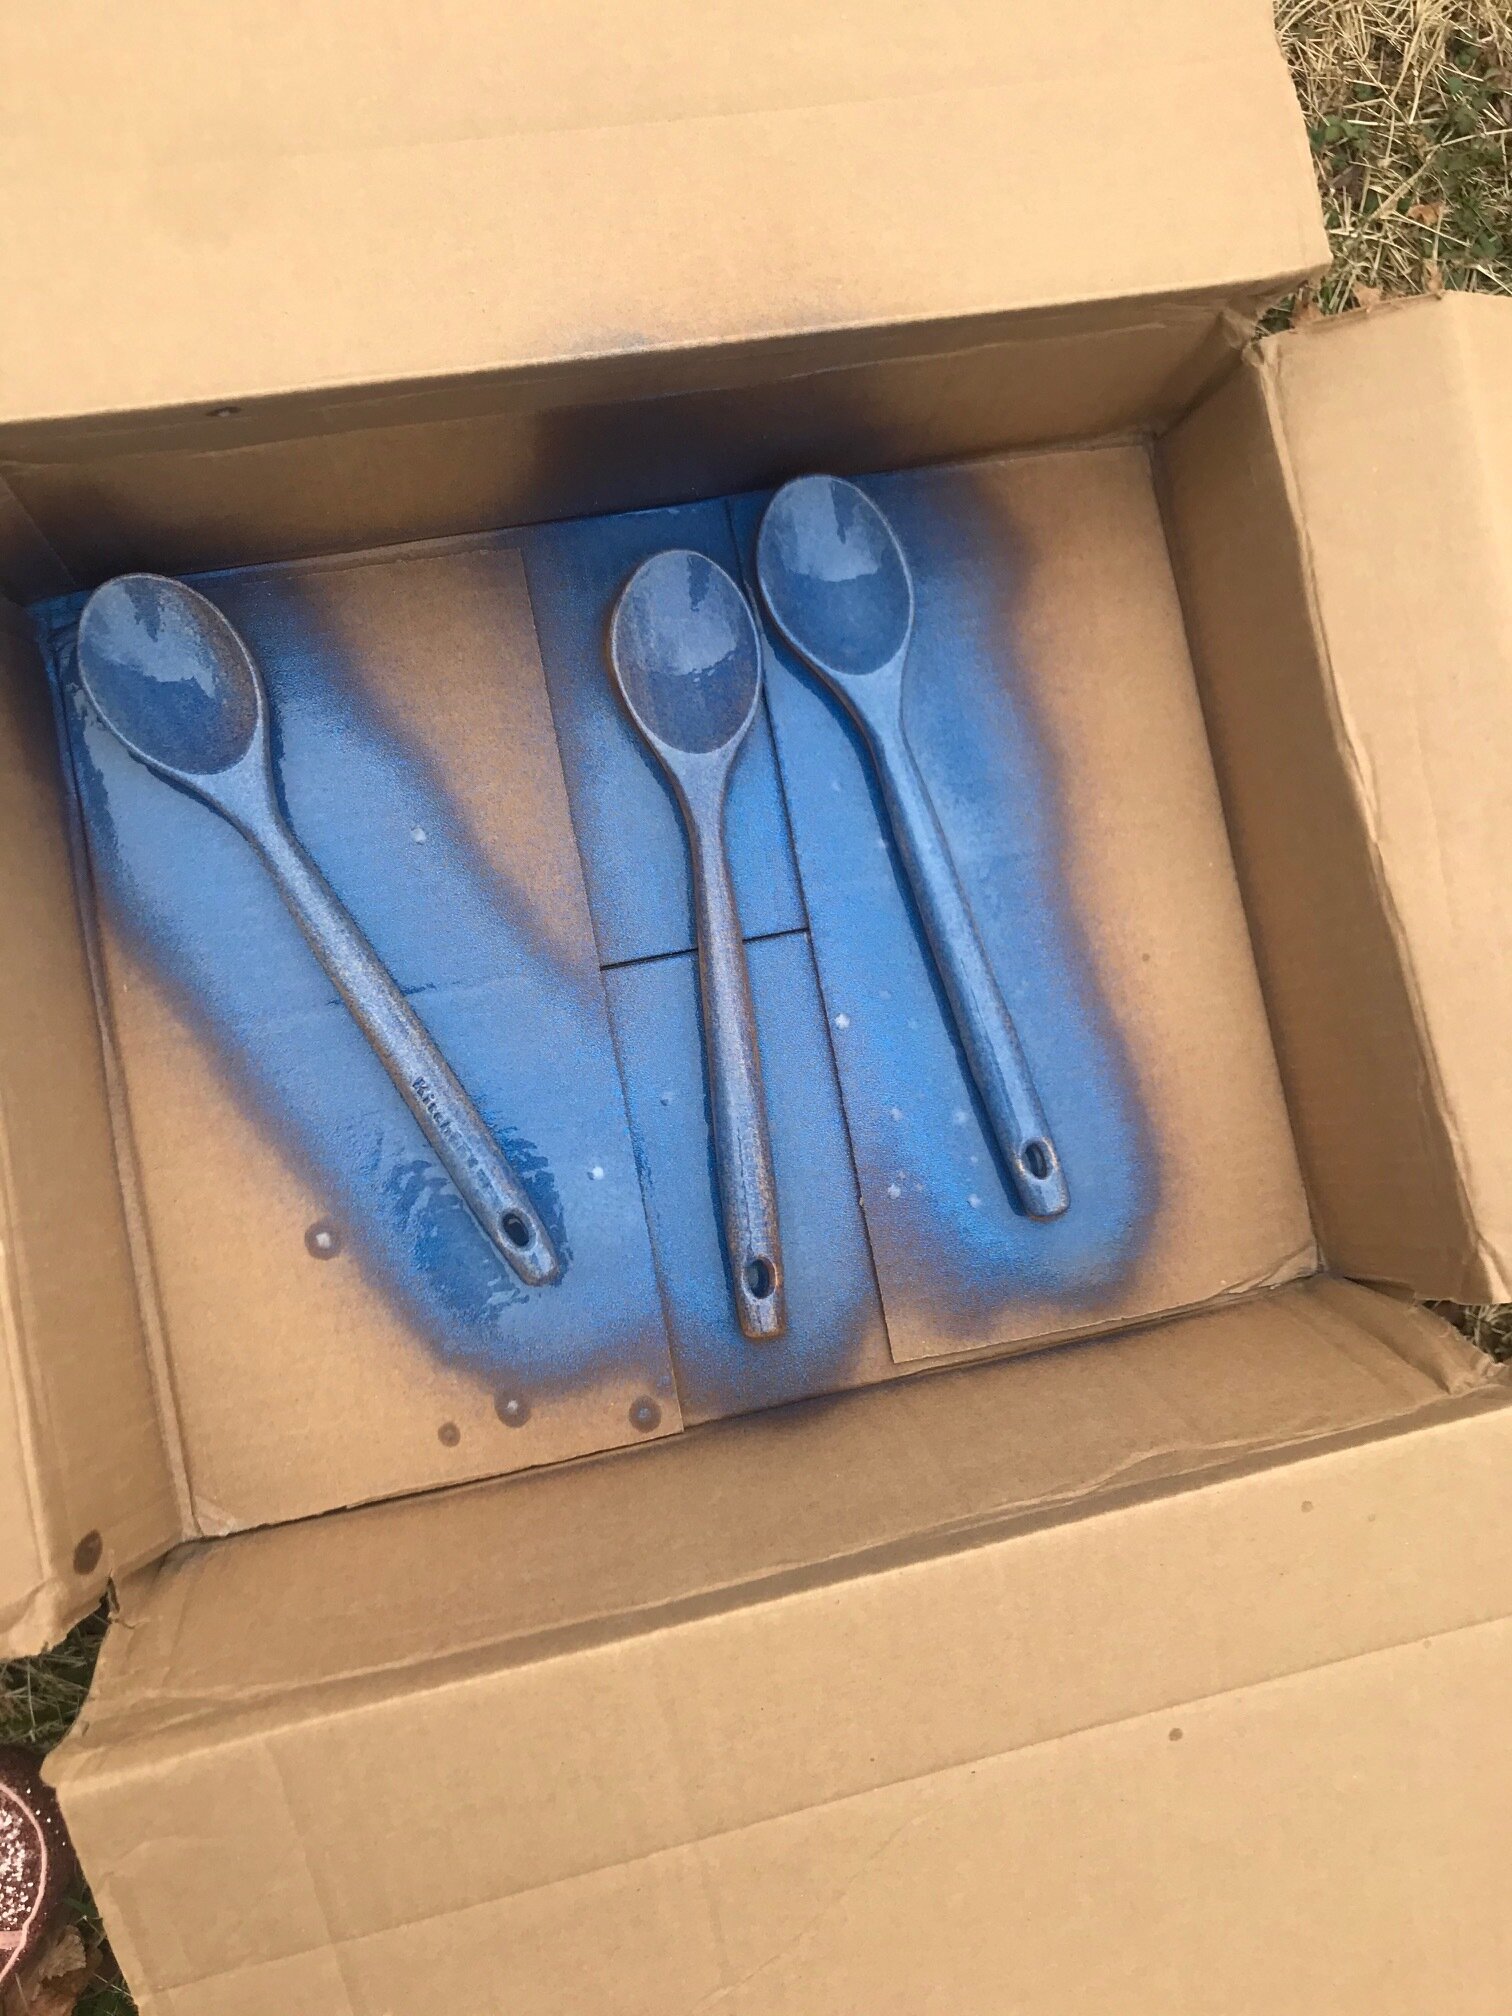
2. Aluminum Chef contest! (I failed at taking pictures of any of the food or most of the Aluminum Chef set up, besides the signs and sign-up sheet, alas. This is also the only photo I got of the magnificent sparkly spoons I handed out as awards, while I was spray-painting them)
The party also included a cooking contest! I specifically called it Aluminum Chef as an ironic reference to "Iron Chef" (because we're amateurs and just having fun). I looked through the wikipedia article about Iron Chef, made a list of all the secret ingredients that have been used in the shows, and then John and I, taking our friends' allergies and food sensitivites into account, chose the ingredient which had to be present in every dish in the competition - Citrus Fruit!
Participants could enter in three categories: appetizers, entrees, or desserts (both John and I made dishes, but we decided beforehand that we couldn't win). I set up a sign up sheet on Google Drive for participants, but also allowed people to bring something to the party even if they didn't sign up. At the party itself, I used physical signup sheets for each category that assigned each dish a number and asked people to tape a label (which I'd already made) to each of their dishes to help with voting. I made voting ballots and throughout the night, encouraged people to try all the dishes and vote. At the very end of the night, during the last lecture, I tallied up all these votes and gave an award in each category! The awards were sparkly blue painted wooden spoons.*
We have a pretty tiny kitchen, so I specified that people really needed to make their dishes at home and bring them along (I allowed one friend to finish up their chicken in the oven and another to heat up their soup on the stovetop, but I didn't mind those minor situations; I just didn't want 10 people trying to cook in our shoebox sized kitchen at once). We also set up a big table downstairs for "overflow" food that didn't fit in the kitchen or on our dining room table; I specified that this food needed to not have any cat attracting meat or liquid milk in it; anything with that in it, really needed to stay near the big group of people in the kitchen so we could guard it.**
- Signs - I'm kind of a nut for signs and put them and various post it notes all around the house, pointing to where everything was. Because of our tiny kitchen size, I often have to get a little creative with storage for parties; the plates, silverware, and napkins lived on our microwave and the cups were situated on john's speaker system. I placed several big soda bottles in the fridge, along with a big water filter dispenser, and had seltzer cans in boxes down the hallway [all of these items had signs or post it notes].
I also used this occasion as an opportunity to pull out our beer coaster collection, and positioned those around the main room for peoples use and amusement (since we had some beer nerds in attendance, they seemed to be accepted well).
I set up a little hot drink station for anyone who wanted some hot cocoa or tea, but no one seemed interested. It was super easy to put together though, and I will totally do it again in the future. I literally just put out a variety of tea bags and a container of hot cocoa mix next to the hot water kettle, along with a mug full of spoons, a bag of marshmallows, and a sign pointing to where the mugs live din our cabinet.
As I've mentioned before, I really am trying to reduce my environmental impact, so even though I used disposable products for this party, I specifically bought compostable plates and napkins made from recycled paper. Our cleanup from this party wasn't actually too bad, all things considered! We filled up a few bags of recycling and trash, but it was pretty good overall.
And that’s how I put it all together! If you end up planning your own salon party or aluminum chef contest, please let me know! I’d love to hear about it all.
*which were a headache and a half to make just due to Amazon delivery shenanigans [my order was completely lost and they didn't bother to tell me that until like, saturday morning, so I had to go to Target and buy spoons that were much more expensive than I planned to use, but like, I was determined to make this sparkly spoon award thing happen. I bought three cans of blue glitter spray paint on clearance ages ago. Unfortunately, two out of three cans could not be encouraged to spray or work AT ALL, even with copious amounts of mineral spirits. So I had to finish up my spoon painting with a blue glitter marker I fortunately happened to have around (I used a red sparkly marker from this same set to fill in flaked off paint on my flower girls' baskets for my wedding, so these sparkly markers were clearly a good impulse purchase).
**The cats themselves were very wonderful during the party and seemed very happy to get lots of pets and adoration from my friends. They didn't try to eat any food, my good boys!

